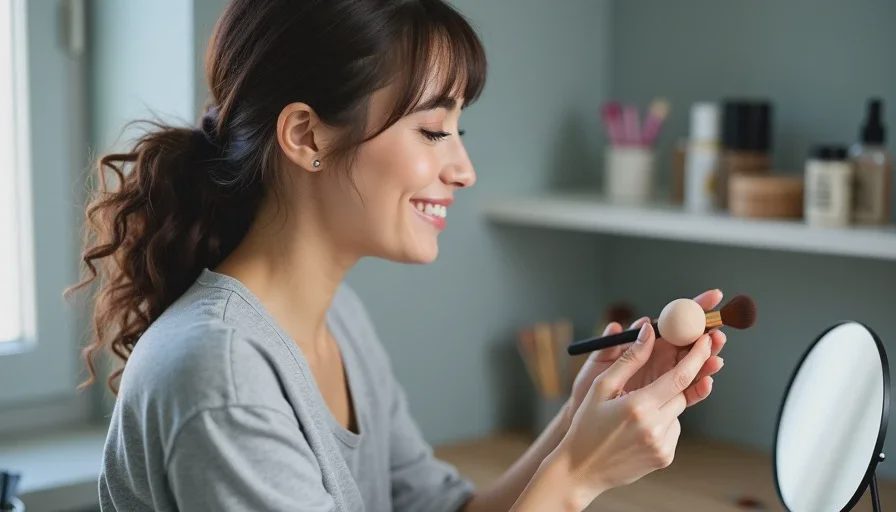
I get asked this question at least once a week: "Should I use a brush, a sponge, or just my fingers?" It's one of those questions that sounds simple but actually has a lot of answers. The truth is, brushes vs sponges vs fingers isn't a contest with one winner. Each tool does something different, and once you understand what each one is good at, the choice becomes second nature.
In my professional kit, I carry all three. Not because I want options, but because different products and different skin types need different tools. Here's exactly how I decide which one to use — and when.
Why the Tool Matters as Much as the Product
Most people blame the foundation when their base looks cakey or streaky. But sometimes the problem isn't the formula — it's the tool they used to apply it. A foundation that looks flawless with a damp sponge can look heavy with a dense brush. A cream blush that blends seamlessly with fingers can look patchy with the wrong brush. The tool changes the finish, the coverage, and the way the product sits on the skin.
The Three Tools at a Glance
Brushes give precision and buildable coverage. They work well for detailed work and for products that need to be placed exactly.
Sponges give a seamless, skin-like finish. They sheer out product and press it into the skin without streaks.
Fingers use body heat to melt product into the skin. They're free, always available, and surprisingly effective for certain formulas.
Each one has strengths and weaknesses. The skill is knowing which one to pick for the job in front of you.
When I Reach for a Brush
Brushes are my precision tools. When I need to place color exactly where I want it, or build coverage in a specific area, a brush is the best choice. The key is choosing the right shape and density for the product.
For Foundation: A Dense, Flat-Top Brush
I don't use a brush for foundation on every client. But when I do, it's because I need more coverage or a more precise application. A dense, flat-top brush pushes product into the skin and leaves a more polished, fuller-coverage finish than a sponge.
My rule: if the foundation is medium-to-full coverage and the client wants a more "done" look, I use a brush. If the skin is textured or dry, I'm cautious — brushes can lift flakes and emphasize texture. In that case, I switch to a sponge.
For Eyeshadow: Brushes Are Non-Negotiable
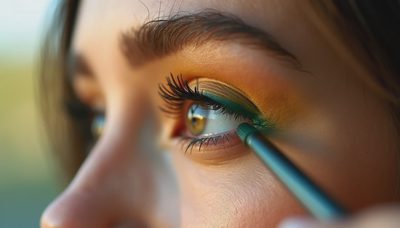
This is where brushes win every time. Eyeshadow needs precision, especially in the crease, the outer corner, and along the lash line. Fingers can work for a quick wash of shimmer on the lid, but for anything that requires blending, a brush is the only tool that gives you control.
I keep a few essential eye brushes: a fluffy crease brush for blending, a flat shader for packing color, and a small pencil brush for detail work along the lower lash line. That's all most people need.
For Powder: A Soft, Fluffy Brush
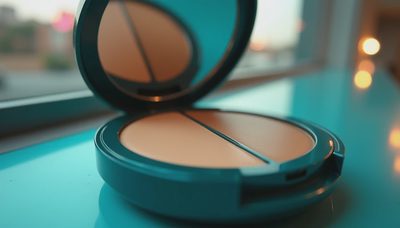
Loose powder and pressed powder both apply best with a soft, fluffy brush. The bristles pick up a light, even amount of product and distribute it without disturbing the base underneath. I press the brush into the powder, tap off the excess, and then press it into the skin rather than swiping. This keeps the foundation from moving.
When I Reach for a Sponge
The sponge is my default for most base products, especially on clients who want a natural, skin-like finish. It sheers out the product, presses it into the skin, and removes excess along the way.
For Liquid and Cream Foundation
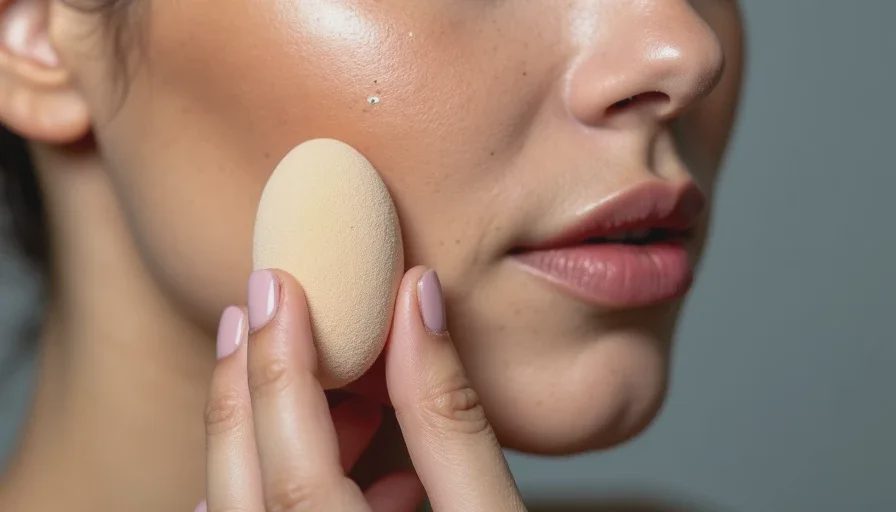
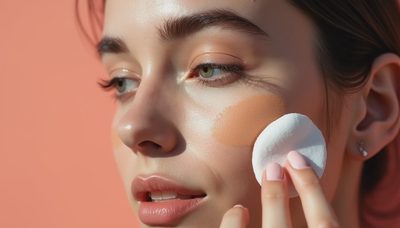
I dampen the sponge first — that's the step most people skip. A damp sponge expands, becomes softer, and doesn't soak up as much product. Then I press and bounce it against the skin, never swiping. Swiping with a sponge drags the product and leaves streaks. The bounce is everything.
A sponge also blends out any edges where I applied too much product. If I've gone in heavy with a brush or my fingers, a clean damp sponge can rescue the finish and lift away the excess.
For Cream Blush and Cream Bronzer
Cream products can go either way — brush, sponge, or fingers. But a sponge is particularly good when I want a soft, diffused flush that looks like it comes from within. I dab a little product on the back of my hand first, then pick it up with the sponge and press it onto the cheeks. The result is sheer and even, with no hard edges.
The Hygiene Note
Sponges need to be cleaned regularly, more than brushes, because they hold moisture and can harbor bacteria. I wash my sponges after every client with a gentle soap and let them air dry completely. At home, I'd recommend washing your sponge at least once a week — and replacing it every few months, depending on how often you use it.
When I Use My Fingers
I used to think fingers were unprofessional. I was wrong. Fingers are one of the most effective tools in my kit, especially for products that respond to warmth. The heat from your skin melts the product and helps it melt into the skin, creating a seamless, natural finish.
For Concealer
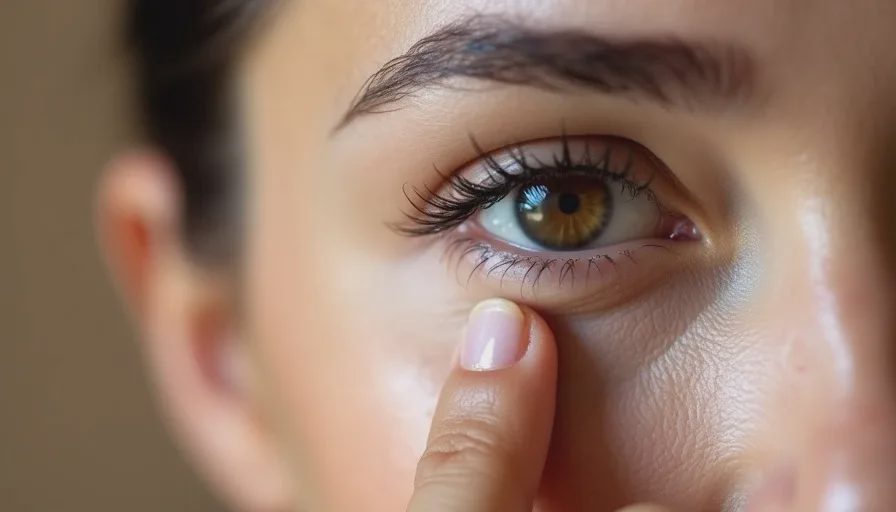
This is my go-to. I apply concealer with a small brush or the applicator, then tap it in with my ring finger. The ring finger applies the least pressure, which is important around the delicate under-eye area. The warmth of my finger helps the concealer melt into the skin and blend without leaving brush strokes or sponge texture.
I don't rub. I tap. Tapping presses the product in without moving it around. Rubbing drags it and can pull at the skin.
For Cream and Balm Products
Cream blush, cream highlighter, balm bronzer — these all work beautifully with fingers. I place a small amount on the back of my hand, then use my finger to pick up a little and press it into the skin. This gives me the most control over the amount and the placement, and the finish is always skin-like.
For Lip Products
This sounds obvious, but fingers are underrated for lipstick. If I want a soft, blurred lip — like the Paris red lip I wrote about — I apply lipstick straight from the bullet, then use my fingertip to press and blur the edges. Fingers are the only tool that gives that lived-in, just-kissed look.
The Hygiene Note, Again
Fingers are always available, but they need to be clean. I wash my hands before touching my face or a client's face. It's the simplest step, and it matters.
How I Choose Between Them
By now you can see that the question isn't "which tool is best?" It's "what do I want this product to do?" Here's my quick mental checklist.
Want more coverage and precision? Use a brush.
Want a natural, skin-like finish? Use a damp sponge.
Want the product to melt in seamlessly? Use your fingers.
For Combination Routines
I often use all three in one look. A brush for the foundation on the forehead and cheeks, a sponge to bounce out the edges and soften the jawline, fingers to tap in the concealer under the eyes, and a brush for the powder. Don't be afraid to mix tools. That's what professionals do.
For Sensitive or Textured Skin
Fingers are often the gentlest option for sensitive skin, because there's no bristle friction. Sponges are also good because they're soft and damp. Brushes can sometimes irritate or emphasize texture, so if your skin is reactive, start with fingers or a sponge and see how it responds.
Mistakes to Avoid
I've made all of these mistakes, and I see them repeated all the time.
Using a Dry Sponge
A dry sponge soaks up too much product and doesn't blend well. Always dampen it first, then squeeze out the excess. The sponge should be soft and slightly damp, not wet.
Swiping Instead of Bouncing
Whether you're using a sponge or a brush, swiping drags the product and can disturb the layer underneath. Bounce or press instead. This is the single biggest change you can make to improve your base.
Using Dirty Tools
This is the one I can't stress enough. Dirty brushes and sponges collect bacteria, oil, and old product. That means breakouts and uneven application. Wash your tools regularly. Your skin will thank you.
The Real Takeaway
You don't need to choose a side in the brushes vs sponges vs fingers debate. Each tool has a role, and the more comfortable you get with all three, the more control you'll have over your makeup. Start with one tool you're comfortable with, then slowly add the others. The goal isn't perfection — it's a routine that works for your skin, your time, and the look you want.
And remember: the best tool is the one you actually use. If that's your finger, use your finger. If it's a sponge, use a sponge. There's no rule that says you have to do it like a professional. You just have to do it in a way that makes you feel like yourself.
No notes yet — write the first one.