
I’ve timed it. I can do a full base in ten minutes — not a rushed, sloppy one, but a base that looks like skin and stays on through a workday, a commute, and a dinner that runs late. This is the same 10-minute makeup base I use on clients who tell me they don’t have time in the morning, and it’s built on one idea: thin layers last longer than thick ones.
The first time I tried a “long-wear” routine, I did the opposite. I packed on primer, foundation, powder, and setting spray like I was building a wall. By 2 p.m., my chin was patchy and my nose was shiny. More product doesn’t mean more staying power. It means more weight for your skin to carry. Once I switched to thin, well-placed layers, everything changed. Here’s the exact routine.
The Real Reason Your Base Doesn’t Last
Most people blame their foundation when the real problem is underneath it. If your skin is dry, foundation clings to flakes. If it’s oily, product slides off. If you apply too much too fast, nothing sets properly.
The fix isn’t a different foundation. It’s changing how you layer.
Stop Over-Exfoliating
I made this mistake for months. I thought smooth skin meant a perfect base, so I exfoliated almost every morning. What I got was a compromised barrier that made foundation look worse by noon. Now I exfoliate twice a week, never on the same day I need extra staying power.
Pick the Right Primer for Your Skin, Not Your Mood
I don’t use the same primer on every client. For oily areas, I use a mattifying one only on the T-zone. For dry patches, a hydrating one only where needed. Blanket primer application creates its own problems.
My 10-Minute Base, Step by Step
I break it down by minute because that’s how my brain works at 7 a.m. You can rearrange slightly, but keep the order: prep, thin layer, spot conceal, set.
Minute 1–2: Prep That Actually Grips
I wash my face, apply a light moisturizer, and wait. That wait is the part everyone skips. If you put primer on top of wet moisturizer, the layers don’t bind — they slide.
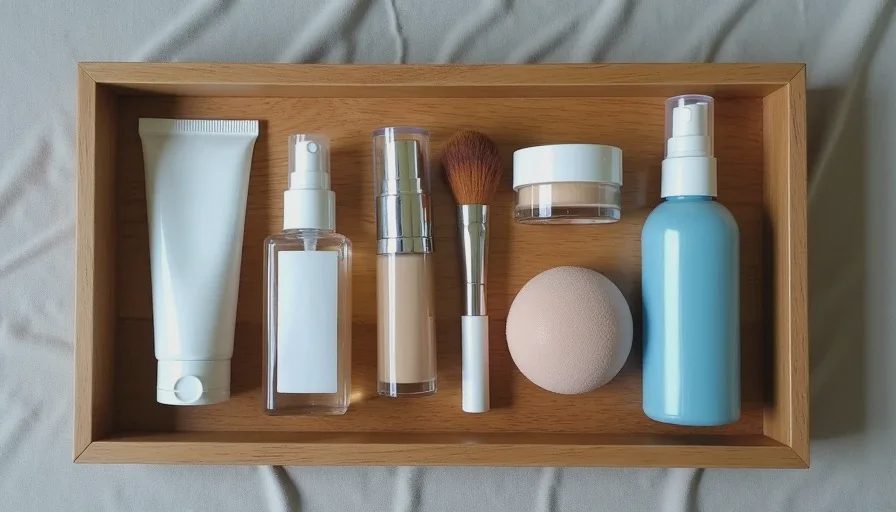
I use about 60 seconds to let the moisturizer absorb. Then I apply primer only where I need it: center of forehead, nose, and chin. If you have dry cheeks, skip primer there entirely.
Minute 3–5: Thin Layers, Not a Mask
I apply foundation in three thin dots on each cheek, one on the forehead, one on the chin. Then I blend with a damp sponge, pressing it into the skin rather than swiping.
One pump, sometimes less. If I can see the foundation sitting on top of my skin, I’ve used too much. The goal is to even out tone, not erase texture. Real skin has pores and fine lines, and a good base works with them, not against them.
Minute 6–7: Spot Conceal, Don’t Paint
Instead of painting concealer in a giant triangle under my eyes, I use a small brush to place it only on the darkest part of the inner corner and any spots. Then I tap with a finger.
This keeps the coverage exactly where I need it without adding weight to areas that don’t need help. The result is a base that wears more evenly as the day goes on.
Minute 8–10: Set It Without Looking Flat
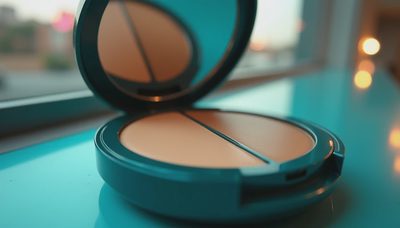
I press a small amount of loose powder into the T-zone with a dry sponge, then brush away the excess. For the rest of my face, I use very little or none at all — especially if I want the light to catch my cheeks naturally.
Finally, I hold a setting spray about arm’s length away and mist once. That’s it. No powdering every inch, no caking.
What I Tell Clients About Touch-Ups
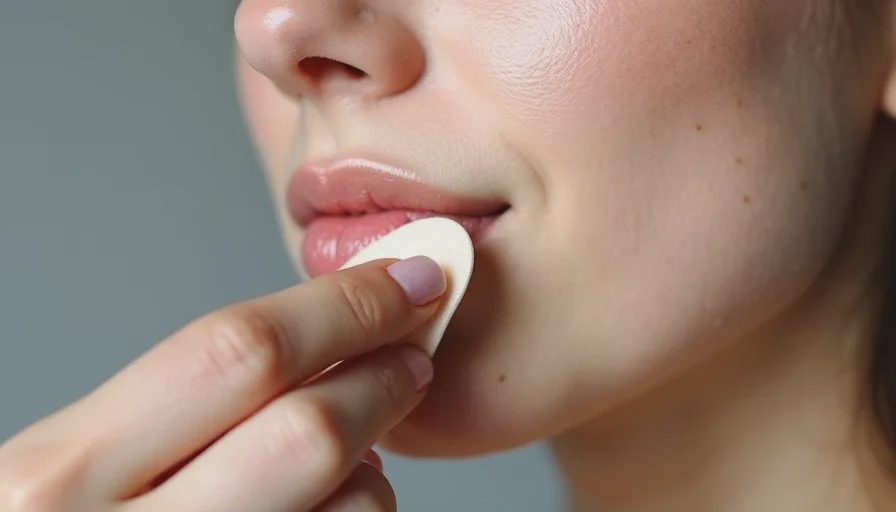
A 12-hour base doesn’t mean zero change. It means the change is manageable. I tell my clients to carry one thing: a clean sponge or a piece of blotting paper.
If your nose gets shiny, press — don’t wipe. Wiping removes product and creates a patch. Pressing lifts the oil while leaving the base underneath.
If your foundation separates around the nose, don’t add more product. Use your finger to gently tap the area back into place. Most midday problems are fixed by pressing, not applying.
A Few Mistakes I Made Early On
I used to think a setting spray could save any base. I’d spray it on thick foundation and expect magic. It doesn’t work like that. Setting spray helps lock in a well-layered base; it doesn’t fix a heavy one.
I also used to apply powder everywhere because I thought that’s what “set” meant. My face looked flat by lunch, and the moment I smiled, fine lines appeared out of nowhere. Now I powder only where I actually get oily.
One more mistake: I used the same routine in winter and summer. Skin changes with the weather. In winter, I add a drop of facial oil to my foundation. In summer, I skip the hydrating primer. It sounds obvious, but most people keep doing the same thing year-round and wonder why their base suddenly fails.
The Real Finish Line
This base isn’t about looking flawless. It’s about looking like you, on a good day, for a long day. That’s the version I want for myself and the version I teach my clients.
Makeup doesn’t need to be a time-consuming puzzle. Ten minutes is enough if you stop fighting your skin and start working with it. And if you only take one thing from this post, let it be this: thin layers, well placed, will always outlast a thick mask.

No notes yet — write the first one.