A vintage hairstyles tutorial should make you feel curious, not intimidated. The first time I tried 1940s waves, I used too much hairspray, brushed out the curl too soon, and created something closer to a fluffy helmet. It was fixable. Most hair mistakes are. These looks rely on direction, sectioning, and patience more than expensive tools, so you can practice them in your own bathroom without turning your routine into a three-hour production.
I approach vintage hair the same way I approach makeup: a face, a hairstyle, and an outfit are one thing, not three. Start with the clothes or mood you want, then choose the amount of polish that fits your day. You are already beautiful; this is simply a way to play with shape.
Vintage hairstyles tutorial basics: prepare before you curl
Clean hair is not always the easiest hair to style. Hair washed the day before usually has enough grip for pins and rolls, while freshly shampooed strands can slide apart. If your roots are oily, use a small amount of dry shampoo and brush it through completely. Avoid coating the lengths with heavy oil because it can make curls collapse.
You need a tail comb, sectioning clips, bobby pins, a medium-barrel curling iron or hot rollers, a light setting spray, and a flat brush. A drugstore curling iron around $20 can do the job just as well as a premium tool if it holds an even temperature. I also keep a small scarf nearby. It protects the finished shape while I get dressed and stops me from touching the curls every thirty seconds.
Before applying heat, use a heat protectant and let it dry. Divide the hair from ear to ear, then separate the crown from the sides and back. Smaller sections create stronger curls; larger sections create softer, faster waves. If your hair is fine, keep the sections narrow. If your hair is thick, work in layers so the heat reaches every strand.
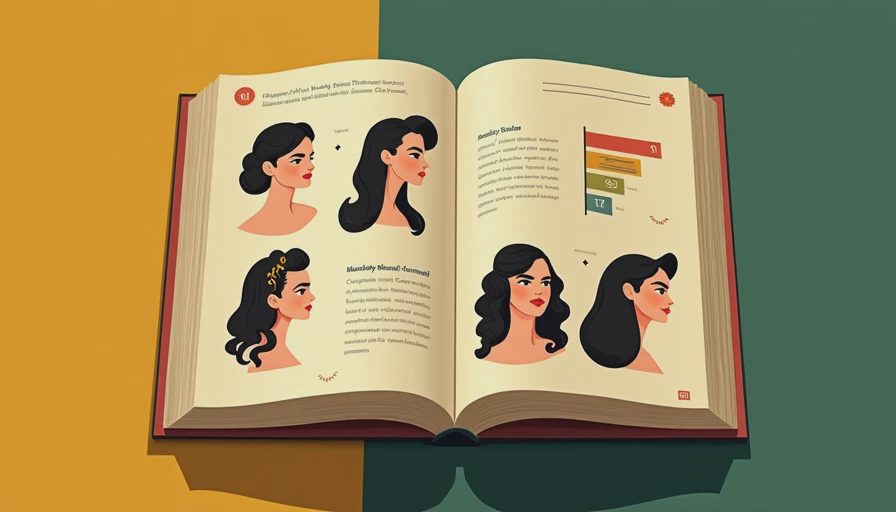
A vintage hairstyles tutorial for soft brushed waves
Soft waves are the most wearable place to start. They suit a daytime dress, jeans with a silk blouse, or an evening outfit that already has plenty of detail. Begin with a deep side part, following the natural direction of your hair. Take a section about one inch wide and wrap it around the iron, keeping the barrel vertical. Curl every section in the same direction on each side of the head.
Let each curl cool in your palm for a few seconds before releasing it. If your hair drops curls quickly, clip each coil against your head with a duckbill clip. Give the set fifteen to twenty minutes while you do your makeup. This cooling time matters more than holding the iron on your hair longer, which can create damage without giving you better hold.
Once everything is cool, remove the clips and brush from the ends upward with a flat brush. The first pass may look like you ruined it. Keep brushing gently and the separate curls will begin to connect into an S-shaped wave. Use your fingers to guide the ridge over the forehead, then mist lightly with spray. For a modern finish, leave the ends slightly loose instead of forcing every strand into a perfect period shape.
This vintage hairstyles tutorial step is also where many people overcorrect. If the wave becomes too wide, mist your fingers rather than the whole head and press the ridge into place. If the hair looks stiff, brush again with a clean, dry brush. Flexible movement looks more believable than a shell of spray.
Pin curls and victory rolls without the panic
Pin curls are useful when you want a set that lasts, but they do take practice. Start with damp, not wet, hair. Comb a one-inch section smooth, wrap the ends around two fingers, and roll the hair toward the scalp. Slide the coil off your fingers, keep it flat, and secure it with a pin through the center. Let it dry fully, either overnight under a scarf or for several hours during the day.
The direction of each curl controls the final result. Roll the front sections away from your face for an open, lifted shape. Roll the back sections downward or toward the nape. When dry, remove the pins and separate the curls with your fingers before brushing. A little pomade on the fingertips can control frizz, but use less than you think; too much makes the set look wet.
For victory rolls, create a clean part and isolate a front section from temple to temple. Backcomb the underside near the roots, smooth the surface, then wrap the section around two fingers and roll it inward or backward. Pin from inside the roll so the hardware stays hidden. Make the second side match the general height, not every tiny curve. Symmetry is helpful, but a handmade look has more charm than a rigid copy.
In this vintage hairstyles tutorial, the most common mistake is trying to build a large roll from too much hair. Use a section about two inches wide and add height with gentle backcombing. If the roll falls, cross two bobby pins in an X shape. If the ends poke out, tuck them under with the tail of your comb and add one small pin.
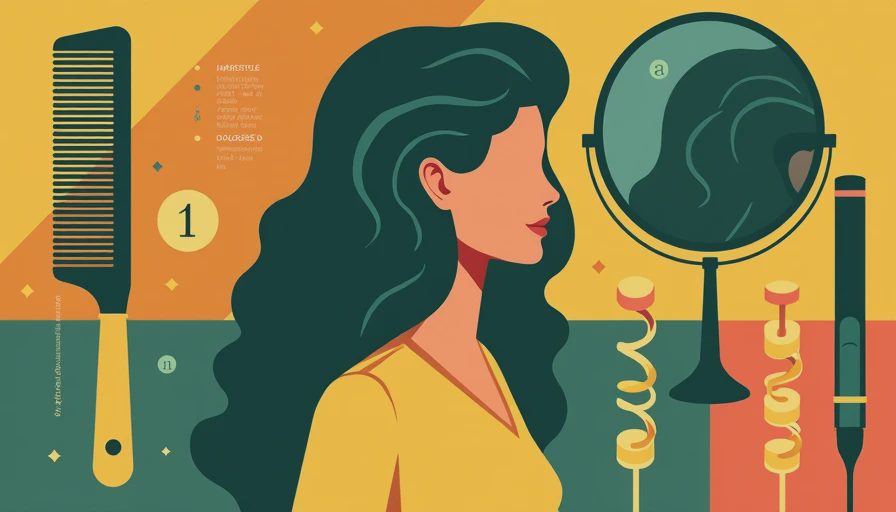
How to make the style work with your texture
Straight hair often needs stronger setting spray and smaller curls. Wavy hair may need less heat because it already has useful movement; focus on smoothing the surface and directing the wave. Curly hair can look wonderful in a vintage shape when you preserve the curl pattern instead of brushing it completely out. Define the front with a small amount of cream, then pin or roll selected sections for structure.
For a short bob, concentrate on the front wave and tuck the back behind the ears. Shoulder-length hair can support a faux bob: curl the ends, fold them underneath, and pin the lower layer at the nape. Long hair gives you room for a low chignon beneath waves or rolls, but do not pile every strand into one heavy knot. Two smaller sections are easier to secure and more comfortable to wear.
Humidity is the Seattle problem I know best. Dry the roots completely, use a light anti-humidity spray, and avoid running your hands through the style outdoors. A scarf or wide headband can protect the hair on a damp walk and become part of the outfit. That is styling, not a compromise.
Budget-friendly products and finishing choices
You do not need a vintage vanity full of specialty products. A $6 setting spray, metal clips from a beauty supply store, and a basic tail comb are enough to begin. A satin scarf under $15 can protect an overnight set. If you style often, invest first in a reliable heat protectant and comfortable pins rather than a cabinet of decorative products.
My finishing rule is simple: shine should come from smoothness, not grease. Rub a tiny amount of pomade between your palms and skim it over flyaways. Keep hairspray about ten inches away and use two light passes instead of one soaking spray. For photographs, place the light toward the front of the face so the wave ridges show. For real life, prioritize comfort and movement.
A vintage hairstyles tutorial should leave room for your own hair, schedule, and budget. You can pair brushed waves with a simple black dress, a printed scarf, or a denim jacket. The look does not need to become a costume unless that is what you want.
Troubleshooting your finished look
If curls disappear within an hour, your sections were probably too large, your hair was too clean, or the curls were brushed before cooling. Next time, use smaller sections and let the set rest longer. If the crown looks flat, lift the roots with a comb and add pins while the hair cools. If the ends look frizzy, apply a trace of cream only to the last inch.
When one side looks different, do not take the whole style apart. Wet the uneven section lightly, reshape it with your fingers, and pin it for ten minutes. If a roll looks bulky, unpin it, remove a small amount of hair from the interior, and rebuild it. A redo is part of the process, not evidence that you lack some secret skill.
The best vintage hairstyles tutorial is the one you can repeat. Practice one wave on a quiet evening, photograph it from the front and side, and note which direction held best. Then try the full style before an actual event. By the time you wear it out, the technique will feel like yours. You're already beautiful; the pins, brush, and curls are just another language for expressing that.


No notes yet — write the first one.