If you have searched how do contour, you are probably looking for a clear answer rather than another dramatic transformation video. Contour is simply makeup that creates the impression of soft shadow, usually along the cheekbones, hairline, nose, and jaw. It does not change your face, and it certainly does not need to look carved or severe. You are already beautiful. This is just a way to play with light and dimension when you feel like it.
What contour actually does
Contour is different from bronzer. Bronzer adds warmth, as though you have spent a little time in the sun. Contour mimics a natural shadow, so neutral, taupe, or softly cool shades usually look more believable. If your contour looks orange, muddy, or surprisingly dark, the color is probably acting like bronzer instead of shadow.
When friends ask me how do contour, I start with one rule: use less product than you think you need. A sheer layer is easier to build than a stripe is to rescue. In daylight, look at where natural shadows already fall on your face. That is your map. Makeup should follow your features, not force every face into the same diagram.
For an everyday look, you need only a small brush, a cream or powder contour, and a clean blending brush or sponge. Your fingers can work beautifully with cream formulas, especially around the nose. You do not need a $60 palette to begin. A drugstore stick or matte taupe eyeshadow can be a useful first experiment, as long as it blends easily and does not contain visible shimmer.
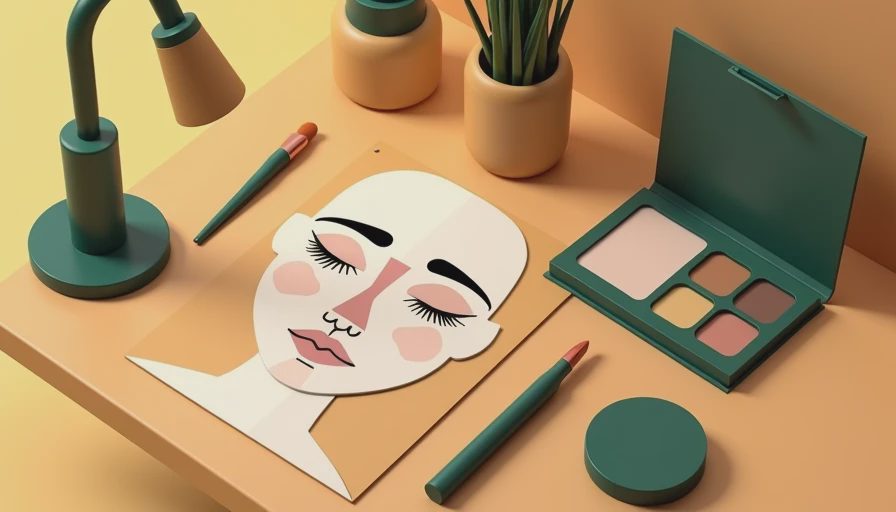
How do contour on the cheeks
The cheek area is the easiest place to start. Make a gentle fish face only long enough to notice the hollow beneath your cheekbone, then relax. Place the product slightly below the fullest part of the cheekbone, beginning near the ear and stopping around the outer edge of the eye. Do not drag a dark line all the way to your mouth. That placement can make the face look tired.
If you are learning how do contour for the first time, tap a tiny amount onto the back of your hand first. Pick it up with a brush, then press it into the skin rather than painting a hard stripe. Blend upward toward the cheekbone and outward toward the hairline. Keeping the deepest color near the ear creates dimension without making the center of the face look heavy.
Cream contour works especially well over liquid foundation because it melts into the base. Use a damp sponge for a soft finish or a small, dense brush for more control. Powder contour is a little quicker and often better for oily skin or a humid day. Set only the areas that need it before applying powder, since too much setting powder can make blending patchy.
Forehead, jaw, and nose placement
For the forehead, lightly sweep contour along the hairline if you want to create a little visual depth. Keep the product close to the hairline and blend toward the center, not away from it. A small amount at the temples can connect the forehead shading to the cheek area. Heavy bands across the entire forehead are rarely necessary for real-life makeup.
Along the jaw, place product just above the underside of the jaw rather than directly beneath the chin. Blend downward onto the neck with a clean brush so there is no obvious edge. This is one of the most useful answers to how do contour when you want polished photographs: the transition matters more than the amount of pigment.
For the nose, use a small tapered brush and begin with two extremely thin lines beside the bridge. Keep them close together, then soften them immediately. Add a touch beneath the tip only if you like that effect. If nose contour feels fussy, skip it. Cheek and temple definition can make a complete look without touching the center of your face.
Choosing a formula and shade
Cream products tend to look fresh and skinlike, making them friendly for dry skin or anyone who enjoys a dewy base. Try a stick such as e.l.f. Halo Glow Contour Beauty Wand at an accessible price, or look at higher-priced options from brands such as Fenty Beauty if you want more shade variety. Powder formulas are convenient for touch-ups and can last well through a long event. Milani and NYX offer approachable choices, while Sephora carries a wide range of textures.
The right shade should usually be one or two steps deeper than your complexion and noticeably less warm than your bronzer. Test it along the jaw, not the hand, because your hands often have a different color from your face. If a shade disappears into a soft shadow after blending, you are close. If it looks gray, orange, or theatrical in regular bathroom light, choose another tone.
When researching how do contour, you will see advice to buy separate products for every feature. Ignore that pressure. One versatile cream and one small brush can handle cheeks, temples, and jaw. Your budget is not a beauty exam, and expensive packaging cannot blend a product for you.
A five-minute contour routine
Start with moisturized skin and your usual base. Let foundation or skin tint settle for a minute, then lightly place cream contour at the cheek hollows, temples, hairline, and jaw. Use tapping motions to blend, beginning where you placed the most product. Leave the center of the face mostly untouched so the look keeps its natural contrast.
Next, check your makeup from a short distance instead of pressing your nose against the mirror. This is an important step in how do contour without overdoing it. If you can see separate brown shapes before you see your face, blend with a clean brush. If everything has vanished, add the smallest second layer only where you want definition.
Add blush slightly above the contour and toward the temples. Blush brings life back to the face, while contour creates structure; using both prevents the look from becoming flat or overly sculpted. Finish with a little translucent powder where you crease, then leave the cheek area softly luminous if that suits your skin.
Common contour mistakes and easy fixes
The most common mistake is starting with too much product. Wipe excess cream onto your hand before it touches your face. Another is blending downward on the cheek, which can visually pull the face down. Sweep upward and outward instead. A contour shade that is too warm can usually be softened with a neutral powder, but replacing the shade is better than endlessly layering products over it.
People also ask how do contour when their face shape does not match a tutorial. You do not need to copy the creator exactly. Apply shadow where you want a little more depth, then step away from the mirror. For a rounder-looking face, focus on the outer perimeter. For a longer-looking face, keep forehead and chin shading subtle. These are options, not rules.
Finally, remember that real makeup has texture, movement, and imperfect edges. A perfectly invisible contour in a close-up video may be heavily lit and filtered. In Seattle daylight, at brunch, or in a passport photo, softly blended makeup is usually more convincing than sharp sculpting.
How do contour for your own style
If your style is minimal, use one touch of contour beneath each cheekbone and stop there. If you love vintage makeup, keep the contour subtle and let the lip or winged liner lead the look. For travel, bring a small cream stick because it can double as a gentle eyeshadow base and takes less room than a palette. For a photograph, build in thin layers and check the result with your phone camera.
The best answer to how do contour is to practice in small increments, in the light where you will actually wear it. Try one side of your face first, compare it with the other, and remove it if you dislike the balance. Makeup is a creative tool, not a requirement. A face, a hairstyle, and an outfit are one look, not three separate tests you have to pass. You were already beautiful; now you simply know a little more about where to place the shadow.
No notes yet — write the first one.