An asian eye makeup tutorial should make makeup feel easier, not turn your face into a problem to solve. After working on more than 3,000 faces, I have learned that the best eye look starts by observing where your lid naturally folds, creases, or disappears when your eyes are open. This asian eye makeup tutorial is my practical, travel-tested method for creating soft definition that still looks like you.
You do not need a huge palette or a dramatic wing. A matte taupe, a medium brown, a pencil liner, mascara, and one small brush can take you from a Seattle coffee run to evening plans. The goal is to place color where it can actually be seen, then soften the edges until everything looks intentional.
Start with the eye shape you have
Before applying anything, look straight into a mirror with relaxed eyes. Do not lift your brows or pull the skin at the outer corner. Notice whether you have a visible crease, a monolid, a low crease, or a fold that partly covers the lid. Many people have a combination, and your two eyes may not match perfectly. That is normal and gives the finished look character.
For this asian eye makeup tutorial, I recommend mapping the visible space first. If your lid disappears when your eyes are open, place your transition shade slightly above the fold rather than burying it underneath. If your lid remains visible, keep most of the deeper color close to the lash line. This simple adjustment prevents shadow from vanishing the moment you look forward.
Use an eye primer only where makeup tends to crease. A thin layer of concealer can work, but too much creamy product makes liner slide and shadow gather. Let the base sit for a minute, then tap away excess with your fingertip.
Build shadow in thin, visible layers
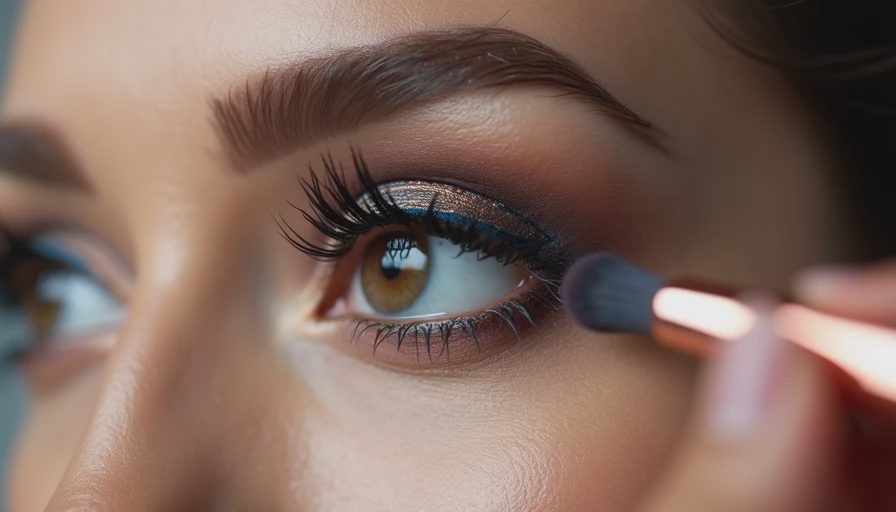
A reliable asian eye makeup tutorial begins with a soft matte shade one or two steps deeper than your skin. With a fluffy brush, sweep it through the socket area and slightly above the natural crease if needed. Keep the inner corner lighter. This creates dimension without making the eyes look heavy.
Next, use a smaller brush to press medium brown, plum, or muted bronze along the outer third of the upper lash line. Blend upward and outward, but stop before the color reaches the brow. The space between the brow and shadow is what keeps the look fresh. For a polished daytime face, add a satin shade to the center of the lid with a fingertip. A champagne, rose gold, or soft copper finish catches light beautifully without requiring glitter.
Here is the part I often redo on set: do not blend until every color becomes one vague haze. Leave a little depth at the lashes and a little brightness at the center. Makeup needs contrast to read in real life and in photographs.
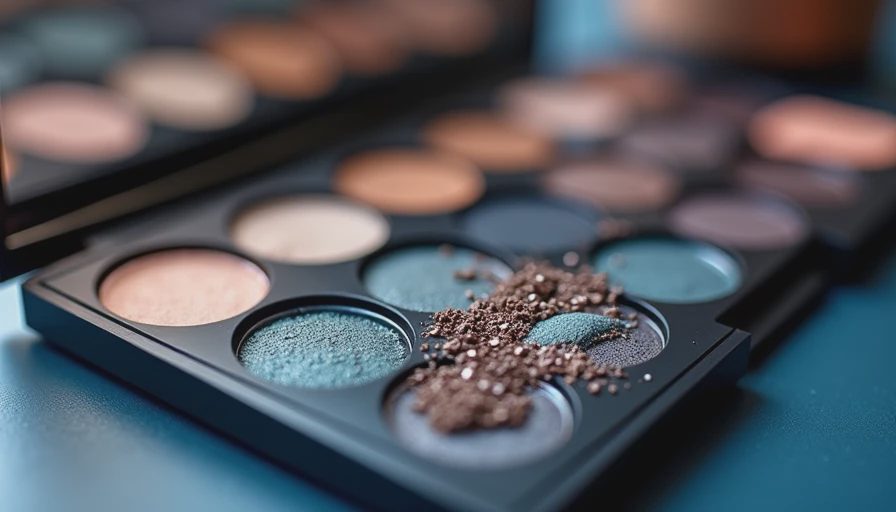
For a budget option, e.l.f. Bite-Size palettes offer useful small color stories. At a higher price, Natasha Denona mini palettes often have finely milled textures, but the technique matters more than the label. I have created excellent looks with drugstore shadows and disappointing ones with expensive formulas placed too heavily.
Make liner work for your open eyes
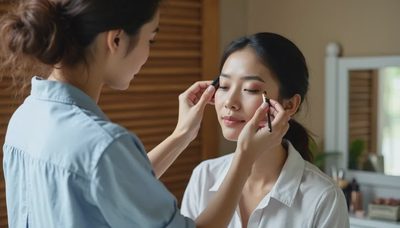
Liner is where many tutorials become frustrating because they teach a thick, visible line while the eye is closed. Instead, draw the line while looking straight ahead. Start with short strokes between the lashes, then build outward. This asian eye makeup tutorial favors a tight, slim line because it leaves room for shadow and keeps the eyes open-looking.
For a monolid or a lid that folds over liner, use a waterproof pencil close to the roots and smudge the edge before it sets. A deep brown pencil looks softer than black for daytime. If you want a crisp evening effect, use a liquid pen only along the outer half, keeping the inner corner narrow.
A wing does not need to point sharply upward. Follow the direction of your lower lash line for a small, lifted flick, then connect it to the upper line. Do one eye at a time, checking both from the front. If the wing disappears when you relax your face, extend it slightly rather than drawing a much thicker line.
My favorite correction is a cotton swab with a tiny amount of micellar water. Clean the underside of the wing, then add a touch of concealer if necessary. Nobody gets symmetrical liner on the first attempt every time.
Balance the lower lash line
The lower lash line should support the upper eye, not compete with it. Pick up the same transition shade on a small tapered brush and sweep it from the outer corner toward the center. Keep the inner half nearly bare for a lighter effect. If you want more definition, press medium brown only at the outer third and connect it gently to the upper corner.
This is another useful asian eye makeup tutorial adjustment: skip a heavy black line around the entire eye. It can make the smallest details disappear, especially under strong indoor lighting. A taupe pencil or brown shadow gives shape while leaving the eyes expressive. For an evening look, add a pinpoint of shimmer near the inner corner, but keep glitter away from areas that water easily.
Curl lashes in three places: at the base, halfway up, and near the tips. Hold each position for a few seconds instead of clamping once at the very end. Apply mascara from root to tip, wiggling at the base. Tubing mascara is handy for straight lashes and rainy days because it tends to resist smudging without requiring aggressive rubbing during removal.
Adapt the look to glasses, photos, and outfits
Glasses can cast a shadow across the eyes, so a little extra brightness at the center lid helps. Keep the outer liner close to the lashes so it does not compete with the frames. For photographs, matte definition usually shows more reliably than pale shimmer. Take one phone photo from arm's length before adding more product; the camera reveals uneven shadow faster than a bathroom mirror.
For a vintage outfit, try a softly defined eye with a thin brown wing and a berry lip. With denim and a white shirt, bronze shadow and brushed brows feel relaxed. If your outfit is bold, keep the eye quieter and repeat one clothing color near the lash line. A face, a hairstyle, and an outfit are one thing, not three, so consider the whole composition rather than following a trend in isolation.
A five-minute routine that actually holds up
Start with a clean, dry lid and a thin primer layer. Sweep on the transition shade, press a medium tone near the lashes, and brighten the center. Tightline or pencil between the upper lashes, then smudge the outer corner. Add the same medium tone beneath the outer lower lashes, curl, and apply mascara. Finally, open your eyes fully and remove any color that sits too high or has transferred.
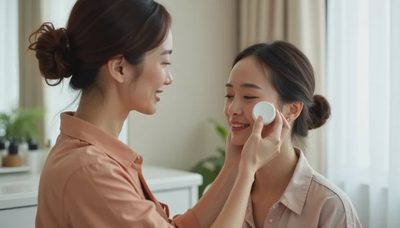
For long days, choose waterproof pencil and set the outer liner with matching shadow. Carry a cotton swab, a tiny mirror, and your mascara rather than an entire makeup bag. If your eyes water, avoid placing shimmer directly in the inner corner and use a fragrance-free remover at night. Never scrub; hold a soaked cotton pad over the lashes for several seconds, then wipe downward.
The most useful asian eye makeup tutorial is the one you can repeat before work, travel, or dinner without needing perfect conditions. Start with less product, look straight ahead while placing color, and build only where definition disappears. You are already beautiful. Makeup is simply a way to frame what is already there.
No notes yet — write the first one.