
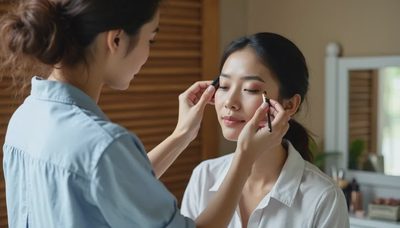
I first heard the phrase “glass skin” from a makeup artist in Seoul, and I’ll be honest — it sounded like another trend I’d try once and forget. But after watching her work on a client for thirty minutes, I realized it wasn’t about looking wet or shiny. It was about a base so well-prepped and layered that light reflected like it would off a pane of glass. Not oil, not grease — light.
That trip changed how I think about base makeup. I’d been trained to think of foundation as coverage: cover the redness, cover the pores, cover the texture. The Seoul approach was different. It was about building skin up from underneath so the makeup could be almost nothing. Here’s the glass skin base I learned, adapted for real life.
What Glass Skin Actually Means
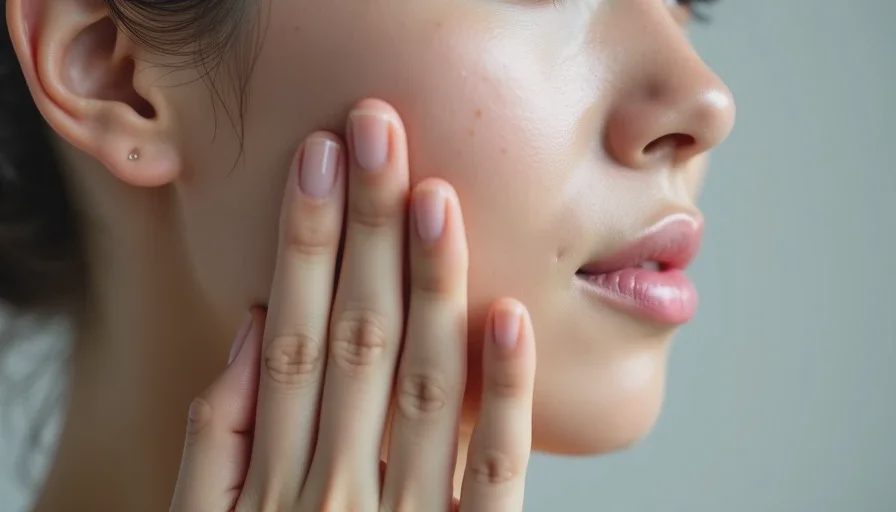
The term gets thrown around a lot, and most of what I see on social media is just dewy foundation with extra highlighter. Real glass skin is not a product. It’s a condition of the skin: deeply hydrated, smooth, even in tone. Makeup only enhances what’s already there.
The artist I worked with told me something I’ve never forgotten: “We don’t paint glass skin on. We grow it.” That means the base starts long before makeup. It starts with how you treat your skin in the days and minutes before application.
The Prep: More Layers Than You Think
In Seoul, the prep took almost as long as the makeup. For a client with normal-to-dry skin, she used three to four layers of hydration before a single drop of color.
Step 1: Cleanse Gently
She started with a gentle cleanser and warm water. No scrubbing. The goal was to remove anything sitting on the surface without stripping the skin. If you exfoliate the same morning, you’ll create micro-inflammation that shows through as texture.
Step 2: Layer Hydration
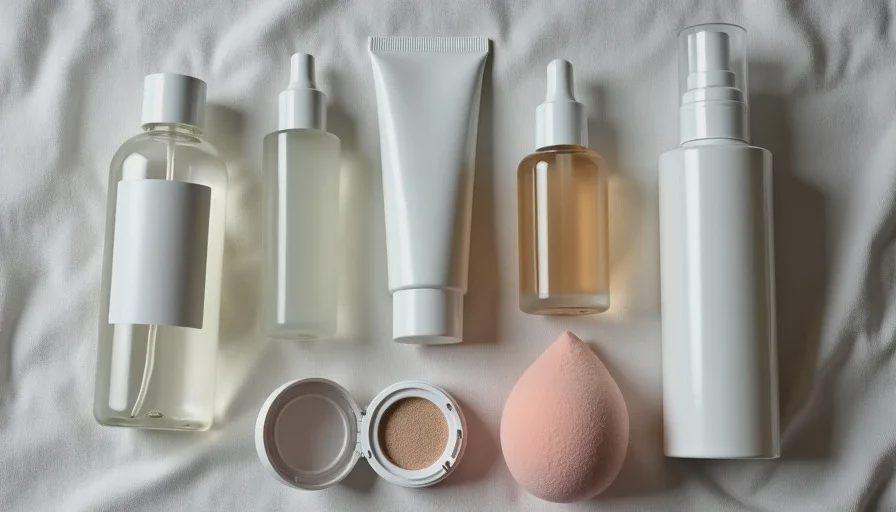
This was the part that surprised me. She applied a hydrating toner with her hands, pressing it into the skin. Then a light essence. Then a thin moisturizer. Each layer got about thirty seconds to absorb before the next went on.
I asked if that wasn’t too much. She said, “The skin can only hold what it can hold. We’re not piling on product. We’re building a water reservoir.”
For oily skin, she would have stopped at two layers, but for normal-to-dry skin, three was the sweet spot.
Step 3: Sunscreen as a Base
Sunscreen was non-negotiable. She used a lightweight, non-greasy formula and let it set for a minute before makeup. This double-duty step gave her a slightly tacky surface that helped the foundation grip without a heavy primer.
The Makeup: Thin and Lit From Within
Once the skin was prepped, the actual makeup was almost shockingly minimal. I kept waiting for the “real” foundation step, but it never came.
Sheer Coverage, Not Full
She used a cushion foundation with sheer-to-medium coverage. She pressed it into the center of the face first, then blended outward with a damp sponge. The edges of the face got almost no product. That’s key — the center carries the light, the perimeter stays natural.
Spot Conceal Only Where Needed
Concealer went only on the inner corners of the eyes and any visible spots. No giant triangles. The less product, the more the natural skin texture came through.
Highlight With Liquids, Not Powder
Instead of a powder highlighter, she used a tiny drop of liquid illuminator on the tops of the cheekbones, down the bridge of the nose, and on the cupid’s bow. She tapped it in with a finger until it looked like skin, not sparkle.
Set With a Fine Mist
She finished with a fine hydrating mist, not powder. For a client with oily skin, she would have added a tiny amount of powder only in the T-zone, but for normal-to-dry, mist was enough.
What I Learned to Avoid
I made mistakes when I first tried this at home. Here are the ones I see most often.
Don’t Over-Moisturize on Oily Skin
If your skin tends to get oily, three layers of toner and essence will make you look slick by noon. Use two lightweight layers at most, and use a matte sunscreen. Glass skin doesn’t mean greasy skin.
Don’t Use a Full-Coverage Foundation
A thick, full-coverage foundation kills the effect because it blocks all the light from your skin. You want sheer coverage that lets your own skin reflect.
Don’t Powder the Whole Face
Powder over the whole face will flatten the glass effect and make fine lines more visible. Use it only where you really need it, and only a little.
Adapting the Look for Your Skin and Climate
This look comes from Seoul, where the climate and skincare culture are different from Seattle. When I came home, I adjusted a few things.
For Seattle’s damp winters, I keep the hydration layers but use a slightly richer moisturizer. For summer, I switch to a gel moisturizer and skip the essence. The principle stays the same: build hydration, use thin coverage, let light do the work.
If you have rosacea or acne, don’t try to hide every mark. The glass skin look works because it shows real skin. Spot conceal the areas that bother you, but let the rest breathe.
The Real Takeaway
The glass skin base isn’t about achieving a poreless, reflective face. It’s about treating your skin well enough that you don’t need much makeup to look like yourself on a good day. That’s the version I brought back from Seoul, and it’s the one I teach now.
You don’t need a ten-step routine or a plane ticket. Start with a gentle cleanse, add one extra layer of hydration, switch to a sheerer base, and see what changes. You might find that the light was already there — you just needed to stop covering it.
No notes yet — write the first one.