If you want to apply bronzer without ending up with a stripe across each cheek, let me show you the method I use on wedding clients, editorial faces, and my own makeup before a long travel day. Bronzer is not meant to redraw your face or make you look dramatically darker. It adds warmth where sunlight would naturally touch, bringing life back after foundation. You are already beautiful; this is simply a little light-catching polish.
Pick the right bronzer and tool
Before you apply bronzer, look at the formula first. Powder bronzer is the easiest place to begin because you can build it slowly, and it works especially well over set foundation. Cream bronzer gives a fresh, skin-like finish and is lovely when your base is sheer or dewy. A liquid formula can look gorgeous, but it requires a lighter hand and a sponge or densely packed brush so it does not skip over the skin.
Your shade should usually be one or two levels deeper than your complexion, with an undertone that makes sense beside your skin. Golden or peachy bronzers can flatter warm tones, while neutral tan shades often look believable on cool or olive tones. Very orange formulas are not automatically bad, but they need careful placement. Test the color along your jaw or cheek rather than your hand, which can be a different shade.
For powder, I like a medium-sized fluffy brush with a rounded edge. A small angled brush creates too much intensity too quickly. For cream, use a synthetic brush, makeup sponge, or clean fingertips. At the drugstore, e.l.f. and Milani offer approachable options; midrange lines such as Makeup by Mario and Fenty Beauty give you more undertone choices. Price does not decide whether a bronzer looks natural. Blending does.
Where to place bronzer
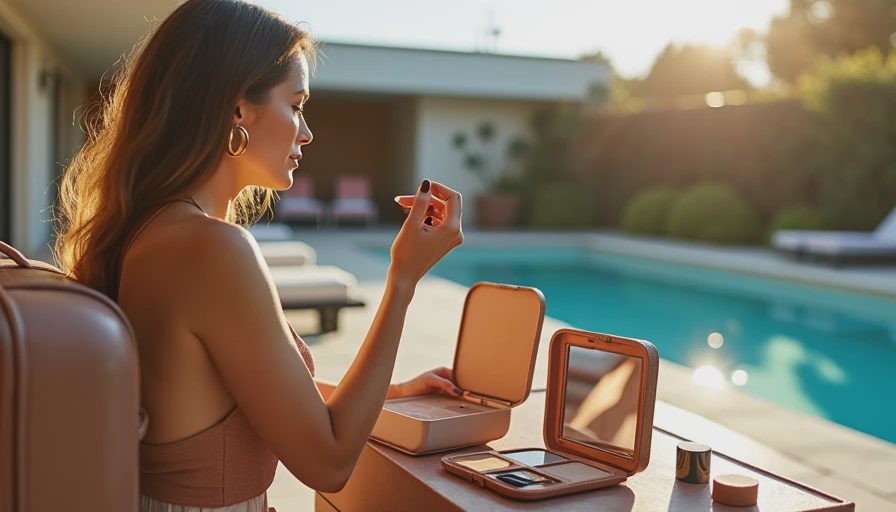
The easiest way to apply bronzer is to follow a soft three-point map: the upper forehead near the hairline, the outer cheek, and the jawline. Do not draw a literal number three. Touch the brush to the forehead, sweep toward the temple, then float the remaining color across the high point of the cheek and lightly along the jaw. These areas warm up first in real sunlight.
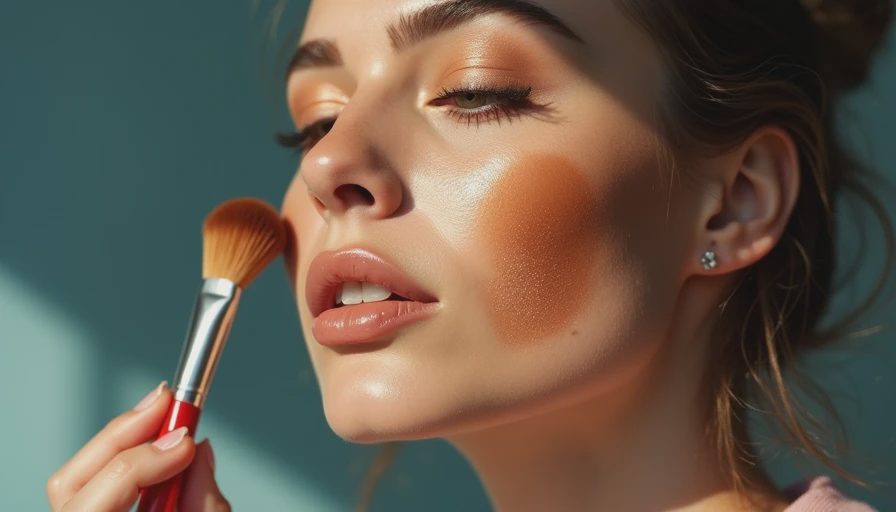
On the cheeks, start slightly higher than the hollow. Imagine where sunglasses might cast a little shadow, then place the color from the ear toward the center of the face, stopping around the outer edge of the iris. For a lifted look, keep the sweep angled upward toward the temple. For a softer vintage look, make the movement more horizontal and diffuse.
The forehead needs less product than most people expect. Tap off excess, then skim around the hairline rather than pressing color onto the center of the forehead. If you have a short forehead, leave more open space. If your hair is pulled back, blend the leftover product carefully near the temples so there is no visible border.
When you apply bronzer to the nose, use whatever remains on the brush. A tiny pass across the bridge and tip can connect the rest of the makeup, but strong parallel lines tend to look heavy in daylight. I learned this on a hot Marrakech shoot, when every extra layer became obvious within minutes. Less product survived the heat and looked more like skin.
How to apply bronzer without muddy edges
Start with a small amount. Swirl your brush into powder, tap it once on the back of your hand, and make two or three light passes before deciding whether you need more. With cream, place dots on the outer cheek and forehead, then blend the edges outward. The center of the face should stay comparatively clear so your features still have dimension.
If you apply bronzer, blush, and highlighter in separate hard bands, the result can look like a diagram. Let the colors overlap slightly. Bronzer belongs behind the blush, while blush can sit on the roundest part of the cheek. Highlighter goes on the areas that catch light, not over every place where bronzer sits. A clean brush used at the end is the fastest way to soften a muddy patch.
Use natural window light when possible. Bathroom lighting can hide orange edges, and a phone camera often exaggerates unevenness. Turn your head left and right, checking the temple, jaw, and hairline. If you see a line, do not immediately add foundation on top. First use a clean fluffy brush, then a barely damp sponge if needed. Makeup is fixable; panic usually makes it worse.
Adjust the technique for your skin and face
Dry skin often enjoys a cream or balm-like bronzer applied over moisturized skin. Press and blend instead of rubbing, which can lift foundation. Oily skin may prefer powder over a lightly set base, especially around the forehead and nose. If you have textured skin, a fluffy brush and thin layers generally look smoother than one concentrated swipe.
For fair skin, choose a pale tan, honey, or neutral beige shade and build gradually. Medium complexions can often handle caramel, bronze, or soft terracotta, depending on undertone. Deep complexions deserve bronzers with enough pigment and richness to show up without turning gray; look for warm cocoa, chestnut, or copper options, then use a lighter pressure near the edges.
Face shape does not require a correction project. If you prefer a rounder, sun-warmed look, keep the color broad across the cheeks. If you like more definition, concentrate it under the cheekbone and blend upward. A longer face can benefit from a little warmth at the lower forehead and chin, while a wider forehead may look balanced with extra softness at the temples. These are invitations, not rules.
Common bronzer mistakes and easy fixes
The most common mistake is choosing a shade that is too dark because the pan looks exciting. A bronzer should be easy to build, not a test of bravery. If the color jumps out before the rest of your makeup is finished, soften it with the brush you used for foundation. Do not cover the whole face with a darker shade to make the contrast disappear.
Another mistake is placing powder over a wet cream base. Set only the areas that need it, or allow cream products to settle for a minute before adding powder. Patchiness usually comes from a sticky layer underneath, too much pressure, or a brush carrying several products at once. Wipe the brush on a clean towel between steps.
A pale ring around the hairline is also easy to prevent. After you apply bronzer, use the last trace on your brush around the temples and just inside the hairline. Wash your hands if you use cream, particularly before touching light clothing. I keep a small microfiber cloth in my kit for this exact reason; it saves a white collar more often than any fancy setting spray.
A simple five-minute routine
For an everyday face, begin with moisturizer, sunscreen, and your usual base. Let the skin settle, then apply bronzer to the forehead, outer cheeks, and jaw with a fluffy brush. Add a whisper to the nose if you like that connected look. Sweep on blush, check the edges in daylight, and finish with mascara or a tinted balm. This order keeps the warmth visible without making it the entire story.
For photographs, apply bronzer one shade more carefully rather than much more heavily. Camera flash can flatten dimension, but excess powder can emphasize texture. Take one test photo, look at the hairline and cheeks, and add only where the face disappears. A satin finish often photographs more naturally than obvious shimmer.
Whether you choose a $12 drugstore compact or a $40 artist palette, the winning move is patience: light pressure, strategic placement, and a clean final blend. Makeup should support your face, hairstyle, and outfit as one composition, not compete with them. Apply bronzer as a warm suggestion, then stop while it still looks effortless. You're already beautiful.

No notes yet — write the first one.