An old hollywood makeup tutorial should feel glamorous without making you look like you are wearing a costume. Think softly perfected skin, lifted brows, a defined lash line, sculpted cheeks, and a lip color that can hold its own in a black-and-white photograph. I have recreated this look for weddings, editorial shoots, and rainy Seattle evenings, and the secret is not owning a $90 lipstick. It is controlling texture, placement, and contrast. You are already beautiful; this is simply a beautiful way to frame your features.
What Defines Old Hollywood Makeup?
The classic look has a few recognizable elements. Skin looks smooth but still like skin, rather than flat and heavily powdered. Brows are groomed and gently shaped, not aggressively carved. Eyes usually feature a matte or satin neutral shadow, a clean wing, and full-looking lashes. Cheeks are softly sculpted, while the lips provide the drama with brick red, true red, berry, or classic blue-red pigment.
For a modern old hollywood makeup tutorial, I soften the edges that can look dated in everyday light. I use less foundation around the nose and mouth, keep blush slightly higher on the cheek, and extend the eyeliner only as far as the eye shape allows. The goal is polish, not disguise. Rita Hayworth-inspired waves, a satin blouse, or even a simple black sweater can complete the mood without turning your bathroom into a movie set.
Start with clean, moisturized skin. If your face is dry, give moisturizer five minutes to settle before makeup. If you get shiny through the T-zone, apply a small amount of gripping or mattifying primer only there. A heavy layer everywhere can make foundation separate and emphasize fine texture. I would rather see a little natural shine at the cheek than a powdery mask.
Step-by-Step Base and Eye Makeup
Apply a thin layer of foundation from the center of the face outward. A damp sponge gives a sheer finish, while a small buffing brush offers more coverage. Use concealer only where you need extra help: around the nostrils, beneath the inner eyes, or over a spot. Affordable options from e.l.f. and L'Oreal can perform beautifully here; higher-priced formulas from NARS or Armani are not automatically better for every skin type.
Set the center of the face with translucent powder and leave the tops of the cheeks mostly untouched. Pressing powder with a small puff lasts longer than brushing a large amount over the entire face. For gentle structure, sweep a neutral taupe or soft bronze powder beneath the cheekbone, along the temples, and lightly across the jaw. Blend until the color disappears into the base. This is shaping, not trying to manufacture new features.
For the eyes, choose champagne, ivory, taupe, or soft brown shades. Place the lightest color on the lid and inner corner, then use taupe in the crease. Keep the crease shade diffused rather than sharply cut. A touch of satin on the lid catches light beautifully, especially in photographs, while a matte outer corner adds depth.
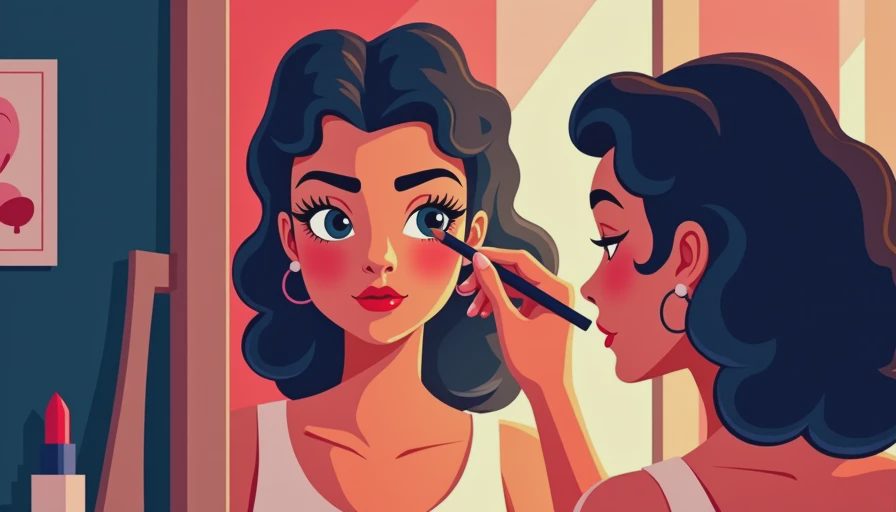
The liner is the recognizable detail. Rest your elbow on a table, look straight ahead, and draw short strokes close to the upper lashes. Make the outer third slightly thicker, then angle the wing toward the end of your brow. If liquid liner feels unforgiving, sketch the shape with a dark pencil first and trace over it. A cotton swab dipped in micellar water can clean the underside of the wing without removing your foundation.
This old hollywood makeup tutorial works especially well with individual lashes or a half-strip placed on the outer corner. Curl your natural lashes before mascara, not after. Apply mascara at the roots and wiggle toward the tips, then comb away clumps while the formula is still workable. If you wear glasses, choose a shorter lash and focus on definition rather than dramatic length.
Sculpted Cheeks and the Signature Red Lip
Choose blush in rose, muted coral, or warm berry depending on your lipstick. Tap it onto the upper apples of the cheeks and blend back toward the hairline. Cream blush gives a fresh finish; powder blush lasts longer on oily skin. For a late-evening event, layer a small amount of matching powder blush over cream, but stop before the color becomes obvious from across the room.
Lip preparation makes more difference than an expensive lipstick. Smooth away loose flakes with a damp washcloth, then apply balm and blot. Trace the natural lip line with a matching pencil. You can correct a slightly uneven edge, but avoid drawing far outside the lips; it is difficult to keep convincing in close-up. Fill the entire lip with liner so the color fades evenly if the lipstick wears down.
A true red is the most recognizable choice, but it is not the only one. Blue-red shades can make the smile look crisp, orange-red can feel lively, and deep berry works beautifully for an autumn evening. Drugstore favorites from Maybelline or Revlon offer strong color for around $10 to $15, while MAC and Fenty Beauty provide a wider range of finishes and undertones. Try the shade on your face, not just your hand, before committing.
For the cleanest old hollywood makeup tutorial finish, apply lipstick from the tube, blot once on tissue, then apply a second thin layer. Use a pointed concealer brush around the outside edge if necessary. I prefer satin or soft-matte formulas for dinners and photography because they are less likely to migrate than gloss. A tiny amount of clear balm in the center can add dimension without turning the whole lip slippery.
Hair, Outfit, and Finishing Details
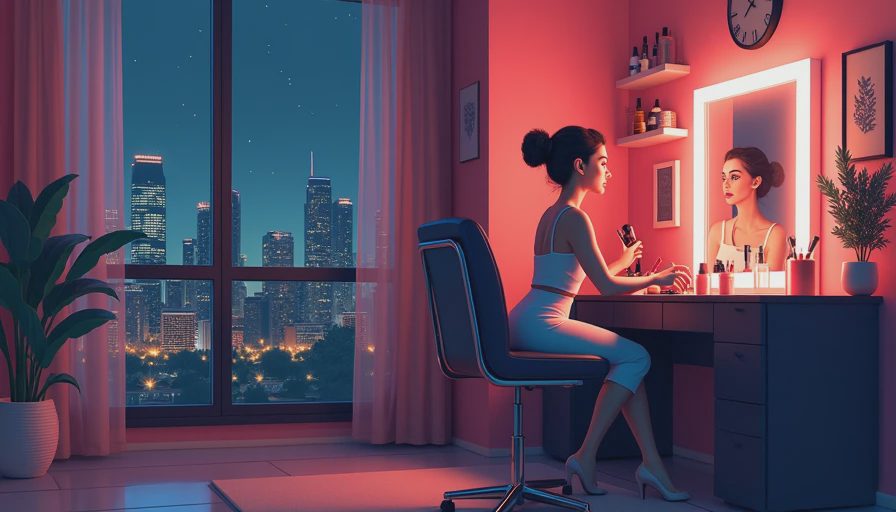
A face, a hairstyle, and an outfit are one thing, not three. You do not need hot rollers to suggest vintage glamour. Create a deep side part, curl the front sections away from your face, and pin each curl until cool. Once released, brush gently with a paddle brush and shape the front wave with your fingers. On short hair, a defined side part and smooth ends can create the same feeling. On long hair, a low bun with one sculpted wave near the face is elegant and practical.
Keep the outfit simple so the makeup has room to speak. A black knit top, satin camisole, fitted blazer, or jewel-toned dress works without requiring a full vintage wardrobe. Small earrings and a tidy manicure can make the look feel finished. I often choose one strong detail rather than stacking several: red lips with a clean neckline, or winged liner with a dramatic earring.
Before leaving, check the makeup in the light where you will actually spend time. Bathroom lighting can hide a harsh contour or make a red lip look dull. Take one phone photo from arm's length, then inspect the edges around the nose, jaw, and lip line. Carry the lipstick, a cotton swab, and a folded tissue instead of your entire makeup bag.
Common Mistakes and Easy Fixes
The most common mistake is applying too much foundation in pursuit of flawless skin. Remove excess with a clean damp sponge, then add concealer only where needed. Another is making the wing identical on both sides; eyes are naturally different, so match the overall direction rather than chasing mathematical symmetry.
If red lipstick bleeds, use a transparent lip liner around the outer edge or lightly set the perimeter with powder. If the eyes look too smoky, press a little foundation-colored concealer along the brow bone and blend. If the whole face feels too theatrical, soften one feature: replace a black wing with brown pencil, switch to a rose lip, or brush through the brows.
The best old hollywood makeup tutorial is one you can repeat without panic. Practice the liner on a quiet evening, test the lip with your intended outfit, and take notes about what survives coffee, conversation, and a few hours of wear. A $12 pencil used with control can be more useful than a luxury product you do not understand.
A Simple 30-Minute Routine
Give yourself five minutes for moisturizer and primer, seven minutes for base and concealer, six minutes for brows and eyeshadow, five minutes for liner and mascara, and seven minutes for blush, lipstick, and final checks. If time is tight, skip complicated contour and focus on even skin, curled lashes, a clean wing, and a carefully lined lip.
That order also makes corrections easier. Powder and blush should not be fighting with wet foundation, and lipstick should come after most face products are finished. With repetition, the routine becomes less about copying a screen star and more about understanding your own face. That is the heart of an old hollywood makeup tutorial: thoughtful placement, memorable color, and confidence that does not need permission. You're already beautiful.


No notes yet — write the first one.