A Japanese makeup tutorial is less about covering your face and more about creating a fresh, thoughtful composition. The look I keep coming back to uses sheer skin, softly flushed cheeks, softly defined eyes, and a blurred lip that still looks like you. It is polished without feeling rigid, and it works beautifully with jeans, a vintage dress, or your favorite oversized sweater. You are already beautiful; this is simply a way to play with what is already there.
What makes this look feel so fresh
When I studied everyday makeup during trips abroad, I noticed how often the finished face looked light rather than heavily layered. That does not mean the technique is effortless. It means each product has a small job, and no single step has to do all the work.
For this Japanese makeup tutorial, think of the finish in three words: hydrated, balanced, and softly defined. Skin should still have dimension. Blush should look connected to your complexion rather than painted on top. Eye makeup should bring attention to your eyes without creating a hard border. Lips can be colorful, but the edges are usually gentler than a traditional full-coverage lipstick application.
The best part is that you can adapt the method to your own coloring, skin type, and comfort level. A $9 cream blush can be just as useful as a $36 one when the shade and texture suit you.
Start with skin that looks like skin
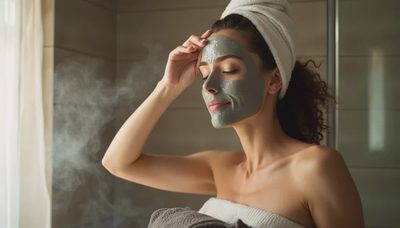
Begin with moisturizer suited to your skin type, then give it a few minutes to settle. If you apply foundation immediately, it can move around or collect near your nose. I usually press a tissue lightly over the center of the face before makeup, especially on a damp Seattle morning.
Use a thin layer of skin tint or light foundation only where you want evening-out. The Maybelline Super Stay Skin Tint is a practical drugstore option with more coverage than a sheer tint, while NARS Light Reflecting Foundation offers a more refined splurge choice. Neither needs to cover every freckle. Apply with fingers for warmth, then tap a damp sponge over the cheeks and around the nose.
Concealer belongs exactly where you need it: beside the nose, over a small blemish, or at the inner corner of the eye. A full mask of concealer can make a light base look heavier than intended. Set only the areas that crease or become shiny. A small fluffy brush and a little translucent powder are enough.
Shape the face with blush, not heavy contour
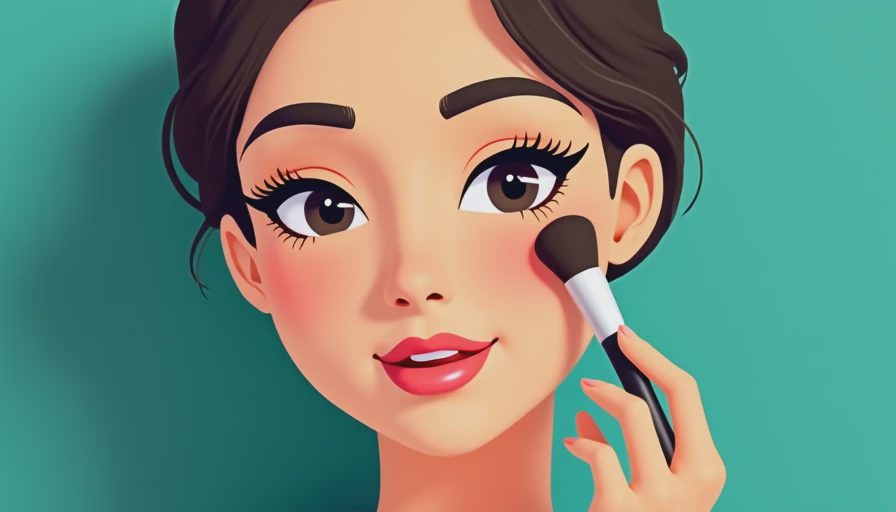
Blush is the emotional center of this Japanese makeup tutorial. Choose a muted rose, peach, apricot, or soft berry depending on the rest of your look. Cream formulas melt into bare-looking skin, while powder formulas are useful if you live somewhere humid or have an oilier complexion.
Smile gently, then place the color slightly higher and farther back than the roundest part of your cheek. Tap toward the temple, stopping before the hairline. Add whatever remains on the brush across the bridge of the nose if you like a sun-warmed effect, but keep that pass very light. The goal is a believable flush, not a stripe.
For budget options, e.l.f. Putty Blush and Milani Baked Blush both offer useful shade ranges at accessible prices. At a higher price point, I like the easy blending of Rare Beauty Soft Pinch Liquid Blush, but use a tiny amount; one dot can be more than enough. If your blush looks too bright, press a clean sponge over it rather than immediately adding foundation.
You can skip contour completely. If you want more structure, use a cool-toned powder beneath the cheekbone with a barely loaded brush. This keeps the face dimensional without changing its natural character.
Create softly defined eyes
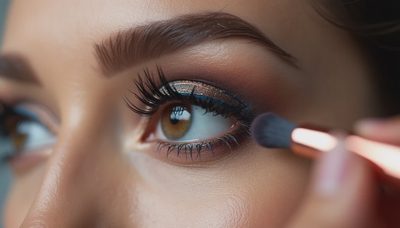
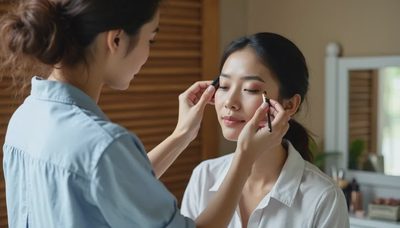
A good Japanese makeup tutorial often relies on placement more than dramatic pigment. Sweep a matte beige or soft taupe through the crease, then press a slightly deeper brown along the upper lash line. Keep the outer edge short and gently lifted instead of extending a thick wing.
For a simple palette, the ColourPop Going Coconuts palette gives you wearable browns without a luxury price tag. A single shadow from Bobbi Brown or Viseart can also be worthwhile if you know you will use that shade constantly. I prefer a small, tapered brush because it lets me build color gradually and clean the edge with a cotton swab.
Curl the lashes before mascara, not after. Apply one light coat from root to tip, concentrating at the base and combing through the ends. Too many layers can make the eye look closed. Brown-black mascara is especially pretty for daytime, while black works when the rest of your look is simple.
For lower lashes, use the leftover shadow on your brush rather than adding a fresh, dark line. A touch at the outer third gives definition while keeping the center of the face bright. If eyeliner transfers, try a waterproof pencil just between the upper lashes and powder lightly over the line.
Finish with a blurred, comfortable lip
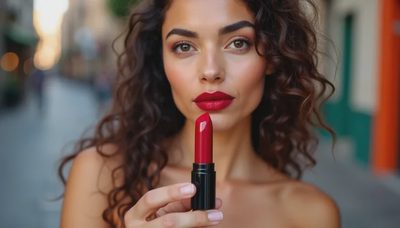
The lip should look lived in, not frozen in place. Start with balm, blot once, and tap lipstick into the center of the mouth with your fingertip. Press the lips together, then soften the perimeter with a clean cotton swab or small brush. This is the step that makes a Japanese makeup tutorial feel especially wearable for errands, dates, and photographs.
A tinted balm from Burt's Bees is an easy low-cost starting point. For a richer stain, try Romand Juicy Lasting Tint or a classic lipstick from Clinique. Product names and prices change, so choose by texture first: comfortable, buildable, and easy to remove at the end of the day.
You do not need a perfect lip outline. If color fades unevenly, dab a little balm over the center and blur the edge again. The result should leave a soft trace of color rather than a sharp ring around the mouth.
Pair the makeup with hair and clothes
A face, a hairstyle, and an outfit are one thing, not three. This Japanese makeup tutorial looks lovely with a low ponytail, a loose bob, or a simple half-up style. Keep a few pieces around the face rather than pulling every strand tight. A narrow ribbon, small barrette, or clean tortoiseshell clip can make the whole look feel intentional.
With clothing, try one gentle contrast. A crisp white shirt gives the blush and lip room to speak. A cardigan in moss, navy, cream, or faded red adds color without competing with the eyes. If you are wearing a patterned vintage skirt, keep the makeup quiet and let one repeated color connect your cheeks, lips, and outfit.
This is also a practical travel look. Pack one cream blush that can touch cheeks and lips, one neutral shadow, mascara, concealer, and balm. You can recreate the routine in a small hotel mirror without carrying a full case of products.
A five-minute version for busy mornings
When time is short, begin with moisturizer and spot concealer. Tap cream blush onto cheeks, sweep one taupe shadow across the lids, curl your lashes, and press tinted balm into your lips. If you have another minute, brush your brows upward and add a little powder only around the nose.
The shortened Japanese makeup tutorial still works because the visual balance remains: even skin, fresh color, softly framed eyes, and comfortable lips. Do not restart the whole face because one side of your blush is stronger. Blend the stronger side outward or add a touch to the other cheek. Makeup is adjustable, and the tiny imperfections are usually invisible once you are moving through the day.
Take a photo in natural light before deciding whether you need more. Indoor bathroom lighting can make every face look flatter and every shadow look darker. Start with less, build slowly, and stop when you still recognize yourself. You're already beautiful; this routine is here to make getting ready feel like a creative morning, not a correction.
No notes yet — write the first one.