If you have ever photographed a beautiful shadow only to find that the image looks gray, orange, or strangely flat, you are not doing anything wrong. Learning how to photograph eyeshadow swatches is mostly about controlling light, color, and texture. I have photographed makeup in Seattle apartments, hotel rooms, and sunny outdoor markets, and the same simple rules work almost everywhere. Your makeup does not need to look perfect to be worth sharing. You are already beautiful, and your swatches only need to show what the product actually does.
Start with the right surface and light
Before you reach for your phone, choose a clean, matte background. A white card can make some colors appear darker by comparison, while a warm beige surface can add yellow to the image. I usually use a neutral gray notebook, a sheet of plain paper, or a pale stone-colored tabletop. Avoid glossy surfaces because they bounce highlights onto the swatch.
For the most dependable result, work near a large window with indirect daylight. Direct sun creates hard edges and can wash out shimmer. On a cloudy Seattle afternoon, place the swatches about two feet from the window and turn them slightly away from the glass. If the light is too strong, hang a thin white curtain between the window and your setup. This gives you soft, even illumination without buying studio equipment.
When learning how to photograph eyeshadow swatches, turn off overhead lights. A ceiling bulb may look harmless, but its warm cast can change a cool taupe into a muddy brown. Mixed light is even more difficult because your camera tries to balance two different color temperatures at once.
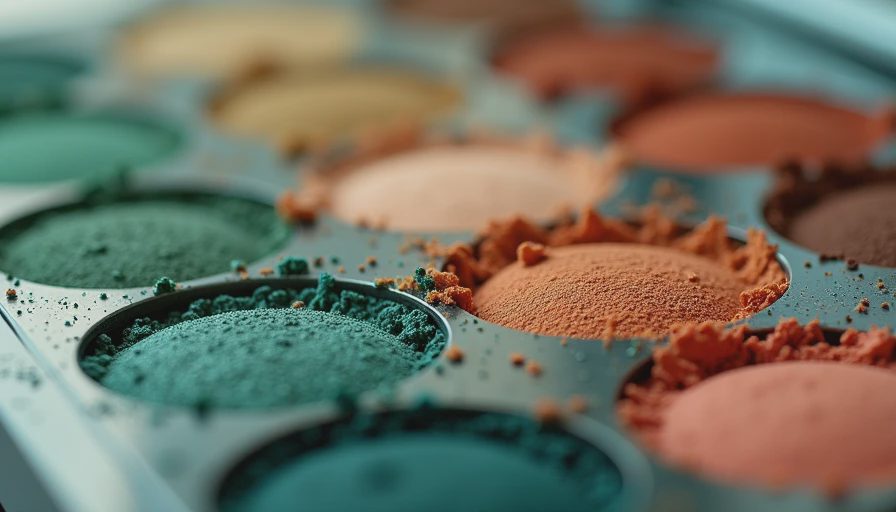
Prepare swatches that tell the truth
A photograph cannot rescue an uneven swatch. Apply each color in the same way, using the same pressure and number of passes. For a palette comparison, I make one stripe with a dry fingertip or brush, then a second stripe with the same tool slightly dampened if the formula is designed for that use. Label each shade before shooting so you do not have to guess later.
Give your skin a moment before taking the picture. Oils, primer, and body heat can make a shadow look more intense after several minutes. If you want to show immediate payoff, photograph within a minute and mention that timing in the caption. If you want to show how it wears, take another image after a few hours under the same lighting.
Use a flat part of your inner arm rather than the most curved area near your wrist. Curves create shadows between colors and make metallic finishes look patchy. Keep your arm relaxed. Pressing it against a table can change the color of your skin and create an unhelpful red mark around the swatches.
Phone settings that make a real difference
Your phone is more than good enough for this job. Clean the lens first with a soft shirt or microfiber cloth; fingerprints create a hazy glow that can look like poor pigmentation. Tap the screen on the swatches, not the background, and lower exposure slightly if the shimmer is turning into a white patch.
Lock focus and exposure before moving the phone. On many phones, you can press and hold the swatch area until the focus lock appears, then slide the brightness control down or up. This prevents the camera from changing settings between photographs. Do not use portrait mode. Its artificial blur often cuts into the edges of a swatch and makes glitter particles disappear.
If your phone offers a macro mode, test it rather than assuming it is better. Macro can capture texture beautifully, but it may exaggerate small flakes and make the color look less even. For a full palette, step back slightly and crop later. Digital zoom can soften the image, so moving the phone is usually the better choice.
How to photograph eyeshadow swatches with accurate color
White balance is the quiet troublemaker in most makeup photos. Auto white balance may shift from frame to frame, especially when the background is mostly skin. If your camera app allows it, use a daylight setting. Otherwise, photograph a plain white card beside the swatches and use it as a visual reference while editing.
Do not apply a heavy filter. A small adjustment to brightness, contrast, or shadows is reasonable, but changing saturation defeats the purpose of a swatch. I take one untouched image first, then edit a copy. Compare the edited version with the palette in real life under the same light. If the copper looks neon on your screen but soft in person, reduce saturation rather than chasing a more dramatic image.
A useful trick is to include the palette box, shade names, or a small product corner in one frame. This gives viewers context and makes your post easier to understand. It also helps you remember whether a shade was a true matte, satin, duochrome, or glitter topper.
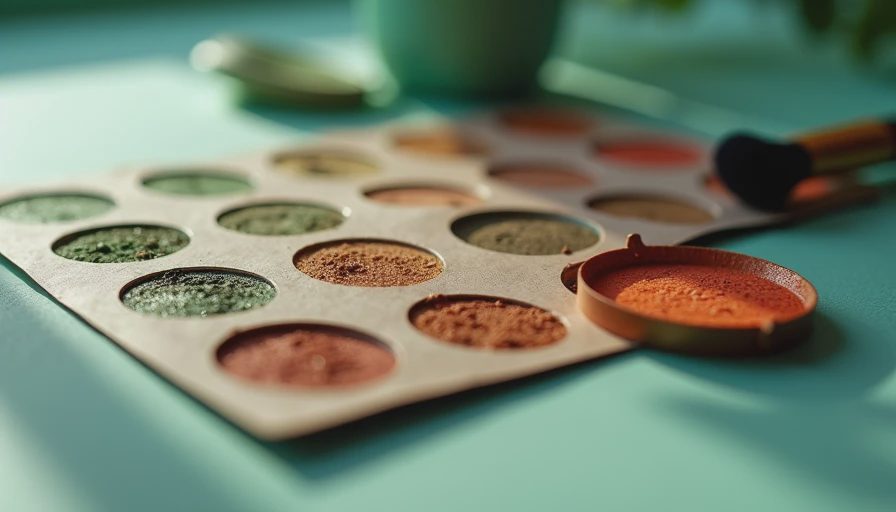
Photographing matte, shimmer, and glitter formulas
Different finishes need different angles. Matte shadows benefit from soft frontal light because side lighting can create false patches and make blending look uneven. Satin and metallic formulas show dimension when you rotate your arm slightly toward the window. Glitter needs a tiny angle change, not stronger light. Move your arm by a few degrees until the particles catch the light without becoming a solid white stripe.
For duochromes, take two or three photos from the same distance while turning your arm slowly. The color shift may disappear in a single straight-on image. Keep the background and exposure consistent, then choose the frames that show the shift honestly. Resist the urge to describe every multichrome as dramatic if the effect only appears at one angle. Clear expectations build better trust than a spectacular caption.
If the formula is sheer, show two layers beside one layer. That small comparison answers a question many shoppers have before buying. It also prevents a sheer wash from being mistaken for poor application or a highly pigmented formula from being mistaken for a stain.
A simple editing and posting routine
After shooting, select the sharpest image at full size. Crop away distractions, straighten the frame, and make only modest color corrections. Check the photo on your phone and laptop if possible because screens vary. Then compare it with the real swatch near a window. This final check is the most important part of how to photograph eyeshadow swatches accurately.
Write down the lighting, primer, application method, and time since application. A caption such as “one dry swipe over bare skin in indirect daylight” tells readers far more than “amazing pigmentation.” If you used a ring light, say so. If a shade needed three passes, say that too. Honest details help someone decide whether the product suits their routine and budget.
You can create a repeatable setup for less than $20 with a neutral card, a small phone tripod, and a white curtain. A tripod is useful because it keeps every palette at the same distance, but it is not required. Books stacked on a table work perfectly well. The goal is consistency, not a professional studio.
Common mistakes to avoid
The biggest mistake is photographing beside a sunny window while the sun moves across the room. Your first image may be soft and balanced, while the next is harsh and pale. Another common problem is using a flash close to the arm, which flattens texture and creates bright reflections in metallic shades. Step away from the window, use indirect light, and take several frames instead.
Avoid stretching the skin too tightly. It can make a shimmer look smoother than it wears and exaggerate the apparent coverage of a matte. Also avoid judging a shade from one image alone. Makeup behaves differently on bare skin, primer, eyelids, and brushes, so a swatch is useful information rather than a complete performance review.
Once you know how to photograph eyeshadow swatches, the process becomes quick: neutral background, one light source, locked exposure, consistent application, and restrained editing. Your photos do not need expensive gear or flawless skin. They need care, clarity, and enough context for another person to make an informed choice. Let me just show you the honest version every time. You're already beautiful.


No notes yet — write the first one.