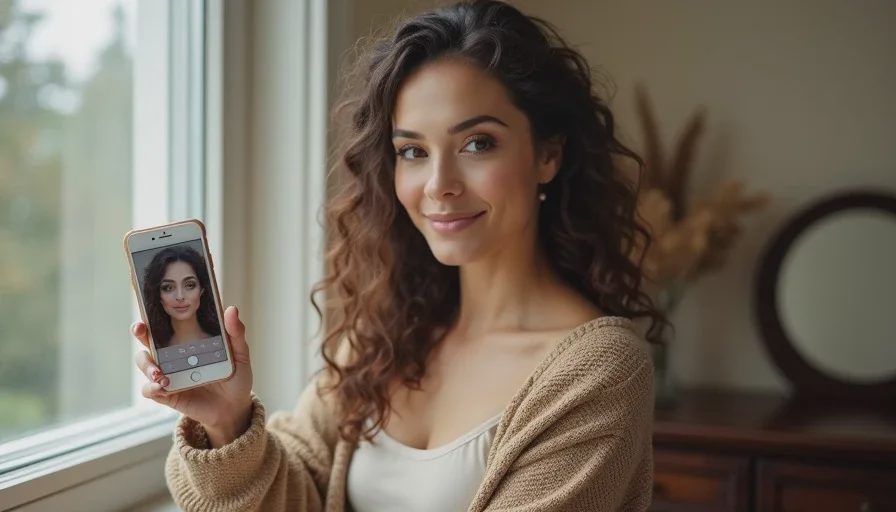
I love the way old film photos look. Not because they're perfect, but because they're not. The colors are a little shifted, the highlights are a little soft, and the grain gives everything a texture that digital photos often lack. For a long time, I thought the only way to recreate that vintage film look was to buy a film camera or download a dozen apps. Neither felt right. I wanted the result without the extra gear and without the app subscription.
Then I started paying attention to what those apps were actually doing. Most of them were just tweaking light, color, and texture — all things I could already do with my phone's built-in tools, if I knew how. So I stopped downloading. I started practicing. And now, when I want a photo of my makeup or a look from a shoot to feel like it was pulled from a shoebox of old prints, I do it with my phone, zero apps. Here's exactly how.
Why the Film Look Is Really a Light Look
Before you touch any setting, understand this: film looks the way it does because of how it captures light. Film stocks have a softer highlight roll-off, a slight color cast, and visible grain. The most important thing you can do to recreate that feel is to shoot in light that already has some of those qualities.
Start With Soft, Directional Light
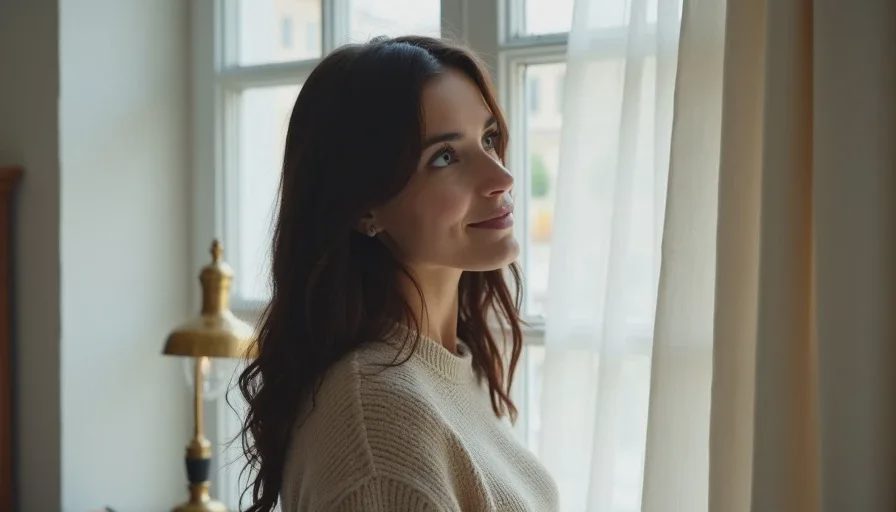
Film loves soft light. Harsh midday sun creates hard shadows and blown highlights, which read instantly as digital. Overcast light, window light, or late-afternoon sun gives you that gentle transition from light to shadow that mimics film naturally.
I shoot most of my vintage-look photos next to a window on an overcast day. The light is even, a little moody, and it wraps around the face in a way that already feels like an old portrait. If I have to shoot in hard sun, I move into the shade or use a sheer curtain as a diffuser. The light itself does half the work.
Use Warm, Low-Contrast Scenes
Film stocks often have a color bias — Kodak Portra is warm and soft, Fuji tends to be cooler and greener, expired film goes muddy and faded. If you want that warmth without editing, shoot near warm-colored walls, wooden tables, brass details, or golden-hour light. The colors in your frame will naturally lean the way you want.
How to Set Your Phone's Camera for a Film Feel
Most phones let you adjust exposure and white balance manually, even in the stock camera app. These two settings are the foundation of the film look.
Lock Exposure and Slightly Underexpose
Film handles highlights differently than digital. Digital clips to pure white quickly, while film keeps a soft, creamy highlight. To mimic that, I slightly underexpose my photos. On my phone, I tap to focus on the face, then slide the exposure down just a touch — not enough to make the photo dark, but enough to keep the brightest areas from blowing out. This gives me a softer highlight and deeper shadows, like an old print.
Shift the White Balance
White balance is the color temperature of your light. Auto white balance tries to make everything neutral, which is why digital photos often look too clean. Film never had auto white balance. I manually shift mine warmer for that golden, Portra-style warmth. On most phones, you can tap and hold to lock focus, then drag a slider to adjust the temperature.
If your phone doesn't have a manual white balance slider, you can still get the effect by shooting in warm light or using your phone's built-in "warm" filter at the shooting stage. But I prefer to do it manually, because I want a subtle shift, not a full orange tint.
Editing With Only Built-In Tools
After the shot, I open the photo in my phone's stock editing app. No downloads. Every phone has basic adjustments, and these are the ones that matter most for a vintage film look.
Lower the Contrast
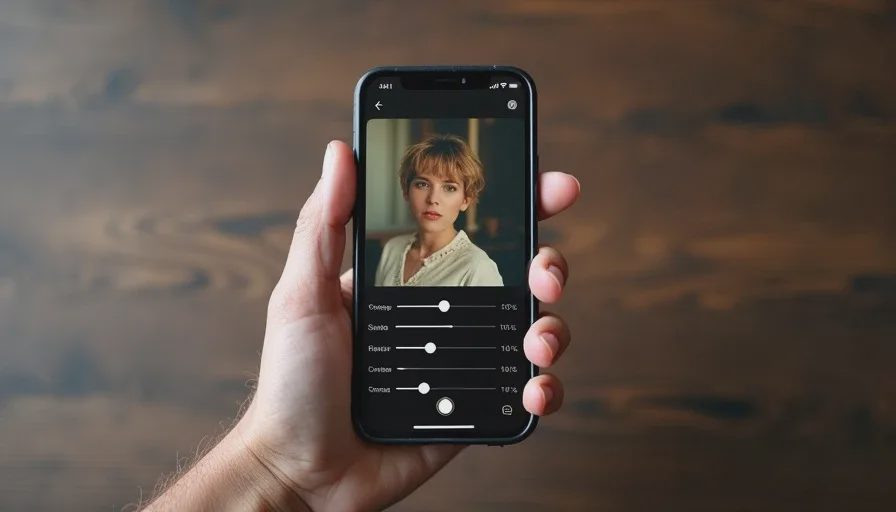
Film has less contrast than digital. It doesn't push blacks to pure black or whites to pure white. In editing, I reduce the contrast by about 10 to 20 percent. This softens the image and gives it that gentle, faded quality without making it look washed out.
Reduce Saturation Slightly
Film color is rich but not neon. I pull the saturation down a little — maybe 10 to 15 percent — especially on reds and oranges, which digital cameras tend to oversaturate. This makes skin tones look more natural and slightly muted, like a scanned print.
Add Warmth, Not Orange
I nudge the warmth slider up slightly. Not enough to make the skin look orange, just enough to give the whole image a subtle golden cast. The key word is subtle. If you can tell it's been warmed up, you've gone too far.
Add a Touch of Fade
Some stock editors have a "fade" or "black point" slider. If yours does, lift the black point just a small amount. This lightens the deepest shadows and gives the photo that airy, slightly faded look of old film. If your editor doesn't have that, you can achieve a similar effect by reducing the "shadows" slider instead.
Getting Grain Without an App
This is the part everyone asks about: the grain. Film grain is small, visible texture that gives the image a tactile quality. Most phone editors don't have a grain slider in the stock app. But you can still get a subtle grain effect without downloading anything.
Use Natural Texture
Shoot in conditions where there's already visible texture — a slightly rough wall, a linen curtain, a textured paper background. The camera will capture that fine detail, and when you lower the contrast and saturation, that texture starts to read like film grain. It's not exactly the same, but it's close, and it's real.
Slightly Underexpose, Then Lift Shadows
When I slightly underexpose and then lift the shadows in editing, the darker areas gain a little noise naturally. That noise looks like grain, especially in the shadows and midtones. It's a small trick, but it works. I don't push it far enough to make the photo look dirty — just enough to give it that analog quality.
The Mistakes That Make It Look Fake
I've made all of these mistakes, and I see them everywhere on social media.
Too Much Warmth
If the whole photo looks like it was dipped in orange juice, the effect is dead. Real film warmth is gentle and balanced. The skin should still look like skin, not like a spray tan. When in doubt, pull the warmth back a little.
Over-Fading
Lifting the black point too much makes the photo look washed out and flat, not vintage. A little fade goes a long way. If the shadows have become gray and the image has no anchor, you've lost the photo.
Relying on a "Film" Filter
Some phones have built-in film filters, and some of them are decent. But a filter alone often looks generic. The real vintage feel comes from the combination of light, color, and subtle edits. A filter on top of bad light is still a bad photo with a filter.
The Real Secret
The vintage film look isn't a preset. It's a way of seeing. It's noticing the soft light by a window, the warm tones of an old wooden table, the slight fade in a printed photo from twenty years ago. Once you start seeing those things, your phone can capture them without a single app.
And here's the part I love most: this technique doesn't hide your skin or smooth your face. It celebrates texture. It lets the makeup show the way it actually looks — real, a little imperfect, and completely yours. That's the kind of photo I want to take. And you can take it too, with the phone already in your hand.


No notes yet — write the first one.