Makeup photography lighting can be the difference between a polished look and a photo that makes your foundation seem patchy, your blush disappear, or your carefully blended eyeshadow look gray. The good news is that you do not need a studio, a dramatic beauty dish, or a closet full of expensive equipment. You need a predictable light source, a little distance, and a willingness to take several test photos. You are already beautiful; the goal is simply to let the camera see the work you already did.
Start with the light you already have
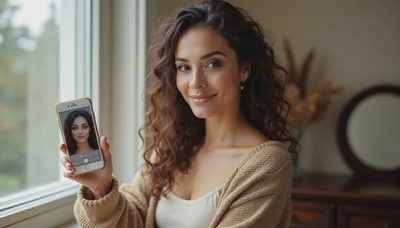
The easiest makeup photography lighting setup is a large window. Face the window directly, with your shoulders parallel to the glass, and stand about two to four feet away. Sheer curtains soften strong sun, while a north-facing window often provides gentle light for much of the day. Direct midday sunlight can create hard shadows under the nose and chin, so move slightly back or wait for thin cloud cover.
Turn off overhead bulbs before you shoot. A ceiling fixture adds downward shadows and can make under-eye areas look darker than they appear in person. Mixed light is another common culprit: warm lamps combined with cool daylight can make one side of the face look orange and the other look blue. Clean, single-source light gives makeup photography lighting a much more reliable starting point.
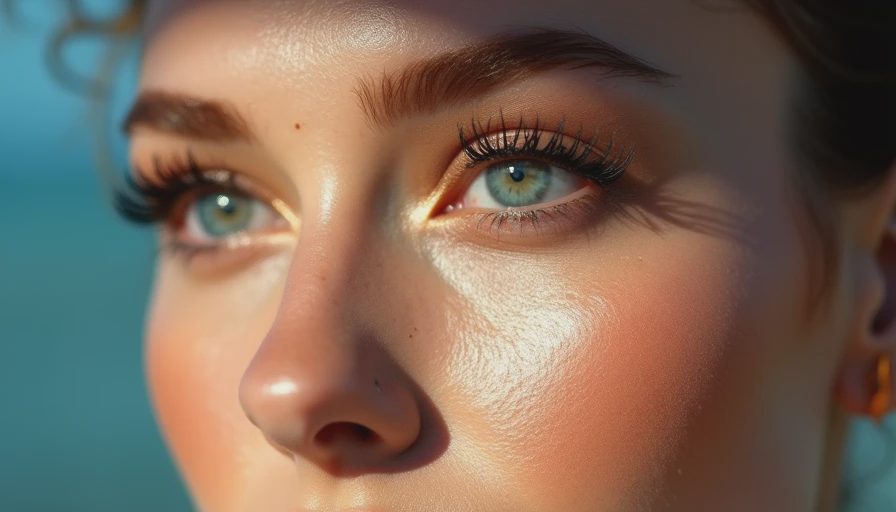
If the window is on your left or right, rotate your face gradually. Side light can show beautiful texture and cheek color, but it also emphasizes pores, dry patches, and uneven blending. For a soft, even makeup photo, begin facing the light and then turn only a few degrees. A white poster board or pillowcase opposite the window can bounce light back into the shadow side without buying a reflector.
Affordable gear that actually helps
A phone camera and a $20 to $40 tabletop tripod can take excellent makeup photos when the light is right. A tripod prevents the small blur caused by holding a phone at arm's length, and it makes before-and-after comparisons more honest. Use the rear camera when possible because it often has better image quality, then use a mirror or a short test recording to position yourself.
For indoor shooting after sunset, a dimmable LED panel or ring light is useful. Look for adjustable brightness and a neutral color setting around daylight rather than a permanently warm bulb. A ring light placed directly in front of you creates clear catchlights and even illumination, but it can flatten sculpted makeup. An LED panel placed slightly above eye level and angled toward your face usually preserves more dimension.
A small softbox is a worthwhile upgrade if you photograph clients or create regular content. Softboxes spread light over a larger area, which makes the transition between light and shadow less abrupt. You can get a basic setup for roughly $60 to $150. You do not need the most expensive brand. A stable stand, safe cable placement, and adjustable intensity matter more than a luxury logo.
When using a ring light, do not put your face inches from it. Start about two feet away, lower the brightness, and check your forehead, cheeks, and under-eye area in a test image. Brightness that feels comfortable to your eyes can still erase delicate shimmer or make a reflective sunscreen look much stronger on camera.
Position your face, camera, and background
Good makeup photography lighting depends on placement as much as equipment. Keep the camera close to eye level, or raise it slightly for a natural portrait. Shooting from below can distort the face and exaggerate shadows beneath the jaw, while shooting too high can hide the shape of the eyes and eyelid makeup. Use the same distance for each photo so the lens does not change the apparent proportions of your features.
Leave some space between your face and the background. Standing directly against a wall can create a distracting shadow, especially with a small lamp or bare LED. Two to four feet of distance gives the background a quieter appearance and helps the face become the focus. A plain wall, curtain, bedsheet, or neatly arranged clothing rack can work; the setting does not need to look like a magazine set.
For makeup photography lighting that shows complexion accurately, wipe the phone lens first. This tiny step removes the hazy glow that people often mistake for flattering softness. Tap your face on the screen to set focus, then reduce exposure slightly if the forehead or cheekbones look blown out. I usually take one image at the phone's suggested exposure, one slightly darker, and one with a small increase. The most useful result is often the middle frame.
Color, texture, and makeup-specific problems
Foundation and concealer need neutral light. Warm household bulbs can make a shade appear more golden, while very cool LEDs can make it look pink or gray. If color accuracy matters, compare the photo with your face in daylight and avoid judging a base product from a heavily filtered social media preview. A photo can help you spot separation around the nose, but it cannot replace seeing the product in person.
Flash is not automatically bad. A direct flash can flatten the face and highlight shine, yet bounced flash or a soft off-camera flash can produce crisp editorial images. For a simple phone setup, move farther from the wall, keep powder light, and avoid placing a glossy highlight directly on the highest point of the cheek. Makeup photography lighting should reveal texture without making you afraid of normal skin texture.
If shimmer disappears, move the light slightly to one side instead of increasing brightness. Metallic products reflect light toward the lens only from certain angles. If blush looks faint, check whether your light is washing across the front of the face, then turn your cheek toward the source for a second angle. Take close-ups and a three-quarter portrait; each view tells you something different.
A repeatable shooting routine
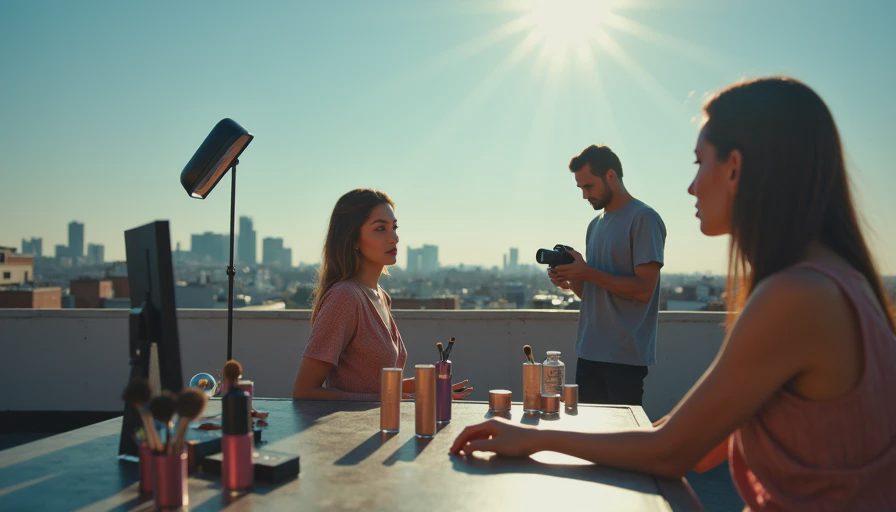
Before applying makeup, clean the lens and choose the background. After finishing, wait a few minutes so skincare and complexion products settle. Place the tripod, set the light, and take a bare-face test if you want to compare the final result without relying on memory. Then capture a full-face image, a left three-quarter angle, a right three-quarter angle, and two close-ups of the eyes or lips.
Keep your expression relaxed. A tense smile or raised brow can change how liner and blush appear. Take a breath, drop your shoulders, and look just beside the lens for a softer editorial feeling. For a direct tutorial image, look into the lens and keep your chin level. Consistency matters more than posing perfectly.
Review photos at normal size, not only zoomed in. Look for uneven foundation, missing blush, mascara transfer, and whether your color balance feels believable. Do not automatically edit away every pore. A small crop, exposure correction, and white-balance adjustment are usually enough. Heavy smoothing can hide the very details you want to learn from.
Build a setup for your budget
With no budget, use a window, a white board, and your phone. Around $30, add a tripod. Around $80, consider a dimmable LED panel with a stand. Around $150 or more, a softbox pair can give you consistent light for tutorials, client work, and outfit photos. These ranges are practical starting points, not a requirement to buy everything at once.
My favorite approach to makeup photography lighting is the least dramatic one: one broad source, a clean lens, neutral color, and several honest test shots. A face, a hairstyle, and an outfit are one thing, not three, so step back occasionally and photograph the whole look too. The close-up teaches technique; the wider image shows how everything works together. Start with what you own, adjust one variable at a time, and remember that the camera is a tool, not a judge. You're already beautiful.


No notes yet — write the first one.