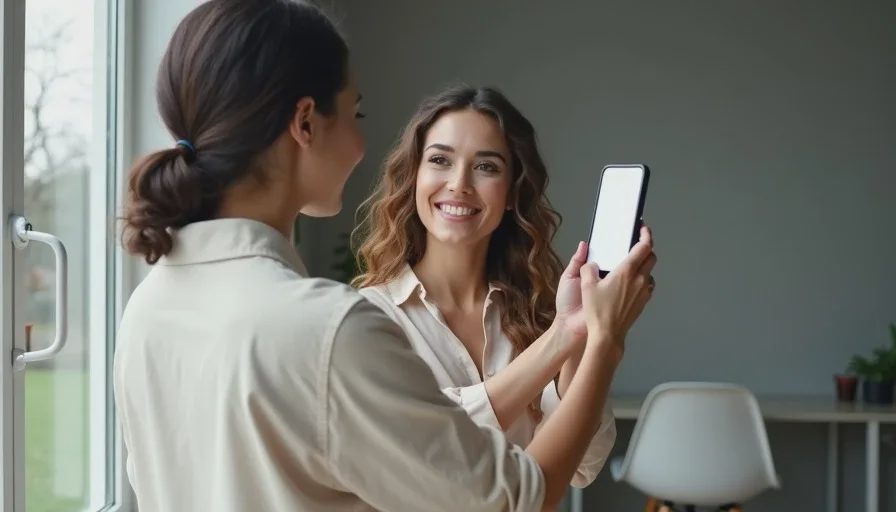
Every time I finish a client's makeup, I hand them a mirror first. Let them see the work. Then I say the same thing: "Now let me teach you how to photograph it, because your phone is lying to you." That's the start of the 60-second selfie lesson I give every client.
It's not about filters. It's not about editing apps. It's about understanding the tiny adjustments that make a phone photo look like the face you see in the mirror. Most people don't need a new phone. They need sixty seconds of direction.
Why Most Selfies Don't Look Like You
The problem is rarely your face. It's the default behavior of the camera and the conditions you're standing in. Phone cameras distort close-up images because of the wide-angle lens. Overhead light creates shadows that don't exist in real life. Shooting from below changes the proportions of your entire face.
When I first started photographing clients, I made all these mistakes. I'd snap a photo from wherever I was standing, under whatever light was on, and then wonder why the makeup looked heavy or uneven. The makeup was fine. The photo was wrong.
The 60-Second Lesson, Step by Step
I break this down by seconds because that's how I teach it in the chair. You can do this while the client is still sitting, before they even stand up.
Second 1–10: Find Your Light
Stand up and walk to the nearest window. Not the bathroom with overhead bulbs. Not the hallway with a ceiling light. A window. Natural light is the only light that shows your makeup the way it actually looks.
Face the window directly, or stand at a slight angle. The light should hit your face evenly from the front. If it's too bright, step back a foot. If it's too dim, move closer. You're looking for soft, even illumination without harsh shadows under your eyes or chin.
Second 11–25: Set the Phone
Hold the phone at eye level. Not below your chin, not above your head. Eye level. This keeps your proportions natural and avoids the "nostril shot" that comes from a low angle.
Now tap the screen where your face is. This locks exposure and focus on your skin, not the background. On most phones, a small sun icon appears — slide it up or down to brighten or darken the image slightly. I usually brighten just a touch, because phone cameras tend to underexpose by default.
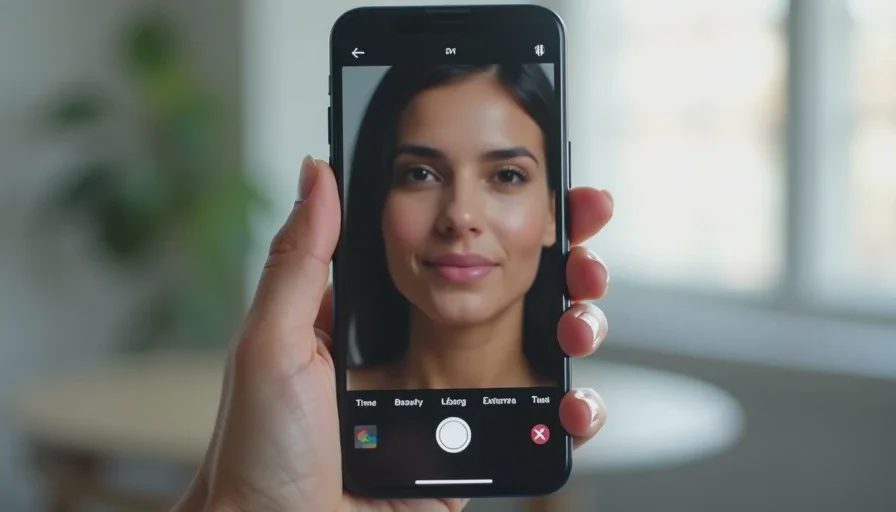
Then turn off beauty mode. I know it's tempting. But beauty mode smooths away the very texture we just spent thirty minutes perfecting. It blurs the eyeshadow edges, flattens the blush, and makes your foundation look like a mask. Turn it off.
Second 26–40: Find Your Angle
This is the part that feels awkward at first, but it's where the real change happens. Start with the phone straight on. Then turn your head about ten to fifteen degrees to one side. Not a full profile — just enough to give the light a little shape on one cheek.
If you're not sure which side, try both. Look at the shadow on one side of your face. Whichever side has the softer, more flattering shadow is your side. That's the one.
Now lift your chin slightly — just enough to open the jawline, not enough to look like you're looking down your nose. Then relax your shoulders. If your shoulders are tense, your neck disappears and your face looks wider.
Second 41–55: Check the Frame
Look at the edges of the frame before you shoot. Is there a cluttered background? A pile of laundry, an open door, a half-eaten breakfast? Move or angle yourself so the background is simple. A plain wall, a window, a blurred room — anything that doesn't compete with your face.
Check the top of your head. If it's cut off, back up or zoom out slightly. If there's too much empty space above, step closer. Your face should fill the middle of the frame with a little breathing room around the edges.
Second 56–60: Take Three Shots
Take three photos in a row. Don't look at the screen between each one — just take three slightly different frames. Slight smile, relaxed face, looking just off to the side. This gives you options and avoids the frozen expression that comes from staring at yourself in the phone.
After three shots, put the phone down. You're done. Sixty seconds.

What I Tell Clients to Avoid
There are a few habits that undo even the best makeup. I mention these because I've watched them happen a hundred times.
Don't Shoot From Below
The low angle is the fastest way to distort your face. It makes your nose look longer, your chin look smaller, and your eyes look hooded. If you're holding the phone at chest level and looking down at it, you're shooting from below. Raise it.
Don't Use the Front Camera's Default Zoom
Most phone front cameras use a wide-angle lens that distorts features at close range. If you can, use the rear camera with a timer, or step back and crop later. If you must use the front camera, hold it further away and zoom in slightly. This reduces the wide-angle distortion.
Don't Edit Before You Check the Light
A bad photo in bad light won't be saved by a filter. The filter will just make it look like a bad photo with a filter on it. Fix the light first. Then decide if you even need to edit. Most of the time, you won't.
The Phone Settings That Matter
I'm not going to tell you to buy a new phone. I'm going to tell you to change three settings on the one you already have.
Turn Off Beauty Mode
I said it once, and I'll say it again because it matters. Beauty mode doesn't make you look like you. It makes you look like a smoothed-over version of someone else. The whole point of a makeup selfie is to see the makeup. Leave the texture in.
Lock Exposure and Focus
Tapping the screen on your face locks both exposure and focus. If you don't do this, the camera will focus on whatever is closest — often a strand of hair or the background — and your face will be soft. Lock it on your eyes.
Use the Timer
This one sounds silly, but it works. Set a three-second timer and hold the phone with both hands. This removes the shake that comes from pressing the button and lets you relax your shoulders. Most of my sharpest client photos were taken with a timer.
The Real Point of a Selfie
A selfie isn't about recording a perfect face. It's about seeing yourself the way you looked in the mirror — the version your friends see, the version your makeup artist just finished. The camera isn't there to change you. It's there to show you.
That's why I spend sixty seconds teaching every client. Not because I want them to post a perfect photo, but because I want them to have one moment where the picture matches the mirror. That's the whole lesson.
And if you only remember one thing from this post, remember this: face the light, raise the phone, turn off beauty mode. Three choices. Sixty seconds. You already look like you. Now the photo will too.


No notes yet — write the first one.