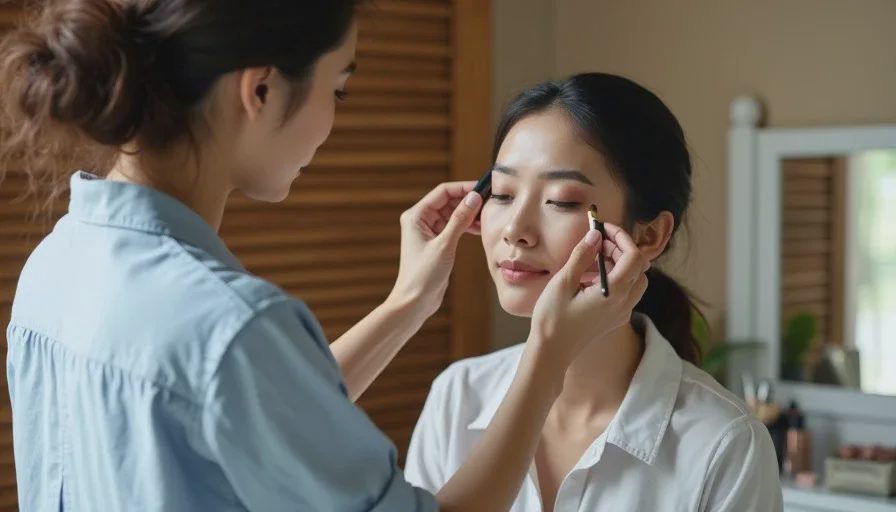
Before I traveled to Bangkok, I thought I understood monolid makeup. I had picked up tips here and there — “just draw a thick line and it’ll show,” “use tape to make a crease,” “double eyelid glue will fix it.” Looking back, most of what I knew was about changing the eye, not working with it.
Then I spent a week shadowing a makeup artist in Bangkok who did bridal and editorial work on clients with all kinds of eye shapes. She didn’t use tape. She didn’t push crease-making products. She looked at each eye and asked, “Where does the light naturally hit?” That question changed everything for me.
Here’s the monolid makeup approach she taught me, step by step, the way I’ve since adapted it for my own clients in Seattle.
What Makes a Monolid Different
A monolid has a smooth eyelid with little or no visible crease. The area from the lash line to the brow bone is flatter, and the lid may cover some or all of the mobile eyelid. When you open your eye, the skin may fold slightly or not at all.
This shape is not a flaw. It’s a different canvas. The mistake most tutorials make is treating it like a hooded eye or a deep-set eye and forcing the same map. A monolid needs its own map.
Why Standard Tutorials Fail
Most eyeshadow tutorials assume a visible crease. They tell you to place a dark shade “in the crease” and a highlight “on the brow bone.” If you don’t have a visible crease, those instructions fall apart. The dark shade can disappear or make the eye look muddy, and the highlight can emphasize flatness instead of adding depth.
The artist I learned from said it plainly: “If the anatomy is different, the map must be different.”
The Base: Keep It Clean and Dry
Monolid skin often has a smooth surface, but it can also be slightly oily. Before any shadow, I prep the lid with a thin layer of eye primer. Not a heavy one — just enough to give the powder something to grip.
I also press a tiny bit of translucent powder over the primer before eyeshadow. This step isn’t necessary for everyone, but on monolids it helps the shadow blend more evenly and prevents it from gathering in the natural fold line.
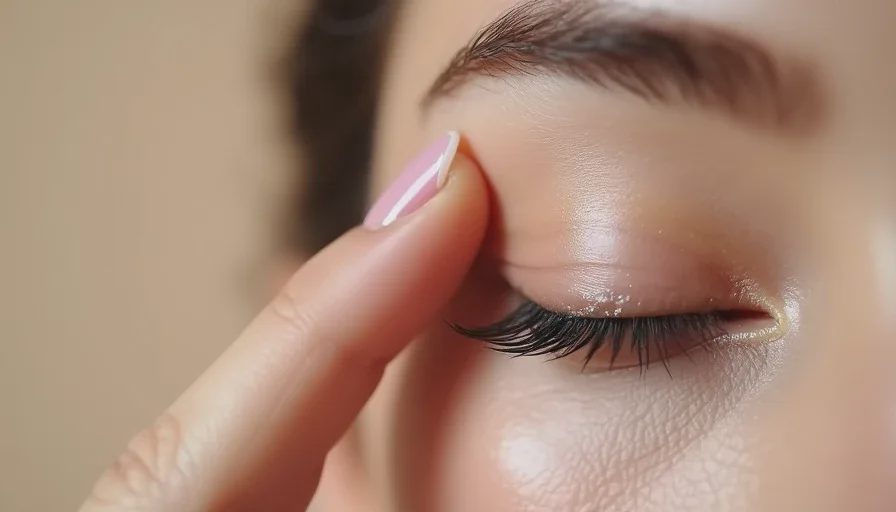
Shadow Placement: Build Depth Without a Crease
Instead of a crease, I create a fake gradient using three zones:
Zone 1: The Lash Line Base
I start with a mid-tone brown or soft matte shade pressed along the upper lash line and slightly upward. This anchors the eye and gives the illusion of density at the roots. I keep it matte — shimmer too close to the lash line can look oily.
Zone 2: The Mid-Lid Transition
Next, I pick a slightly lighter shade and buff it across the center of the lid, overlapping the first shade slightly. On a monolid, the center of the lid catches the most light when the eye is open, so this is where a soft shimmer can go — but only after the matte base is laid down.
Zone 3: The Upper Soft Wash
Finally, I take a shade close to the skin tone and blend it upward toward the brow bone. This softens the edges and keeps the whole eye from looking heavy. The key is to blend upward and outward, not inward toward the nose.
The result is a gradient that adds depth without relying on a crease line. When the eye opens, the gradient still shows because it’s built on the visible lid, not hidden in a fold.
Eyeliner: The Half-and-Half Method
Thick eyeliner is not the answer. On some monolids, a thick line can eat the entire lid and make the eye look smaller. What works better is a two-part approach:
Part 1: The Inner Two-Thirds
I draw a very thin line along the inner two-thirds of the upper lash line, getting as close to the lashes as possible. I use a pencil or a fine brush with gel liner, not a liquid with a stiff tip. The goal is to darken the lash roots without covering the lid.
Part 2: The Outer Third
On the outer third, I slowly thicken the line and angle it slightly upward. I don’t wing it out too far — just enough lift to follow the natural lower lash line direction. This creates an open, lifted effect without relying on a crease.
I check the eye open and closed. If the line disappears when open, I add only enough thickness to keep it visible — not more.
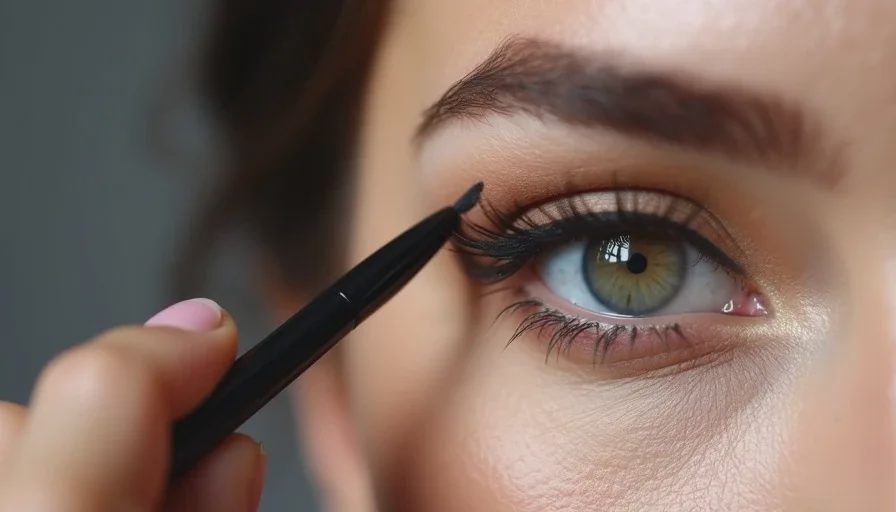
Lashes and Brows: The Finishing Frame
Curl the lashes first, then apply a lengthening mascara. I avoid heavy, clumpy mascara because it can transfer to the lid and create a messy line. If a client wants more drama, I use individual false lashes on the outer half only — they add lift without covering the lid.
Brows matter more than usual on a monolid. Because the lid is smooth, the brow becomes the main frame. I keep the brow defined but soft, with a natural arch that follows the bone, not a heavy Instagram brow.
What I Leave Out
I don’t use tape or glue to create a crease. I’m not going to tell you that you need to change your eye shape. If a client asks for a temporary crease, I’ll explain how to do it safely, but it’s never my default. The whole point of this technique is that the monolid already works.
The Real Lesson From Bangkok
The artist in Bangkok didn’t give me a list of products. She gave me a way of seeing. She said the eye isn’t missing a crease — it’s just shaped differently, and the makeup should follow that shape instead of fighting it.
That’s what I want you to take from this. You don’t need to fix your monolid. You need to learn its map. And once you do, the rest is just practice.


No notes yet — write the first one.