If you have ever finished a makeup look you genuinely loved, taken one phone photo, and wondered where the glow went, you are not imagining things. Learning how to photograph makeup with phone takes more than pointing the camera at your face. Phone lenses, overhead lighting, and automatic exposure can flatten blush, shift foundation color, and make carefully blended eyeshadow look muddy. The good news is that you do not need a professional camera or a $1,000 light. You need a window, a clean lens, and a repeatable little setup.
Start with light that shows the real makeup
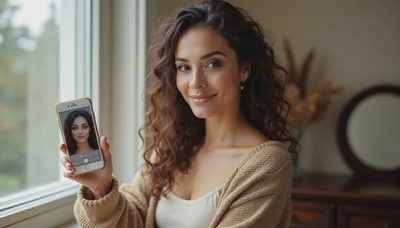
The best light is usually soft daylight coming from a window. Stand facing the window rather than placing it behind you. If direct sun is hitting your face, step back or hang a sheer curtain over the glass. Direct rays create hard shadows under the eyes and nose, while soft daylight shows the actual transition between foundation, blush, bronzer, and highlighter.
For a full-face photo, keep the phone between your face and the window, slightly off to one side. Turn your chin a little toward the brighter side, then compare that angle with a straight-on shot. For eye makeup, move closer to the window and tilt your face until the lid catches light. This makes shimmer visible without forcing you to increase exposure and wash out your skin.
Avoid bathroom lights when possible. Many bulbs are positioned above the mirror, which creates shadows across the eyelids and makes under-eye concealer look heavier. If evening is your only option, use two matching lamps placed on either side of the phone. A small LED panel from Neewer or a basic clip-on light can work well; keep brightness moderate and choose a neutral white setting instead of a strong blue tone.
Before shooting, wipe the phone lens with a clean microfiber cloth. A fingerprint creates a hazy veil that looks romantic on a landscape but simply makes makeup edges look soft and gray.
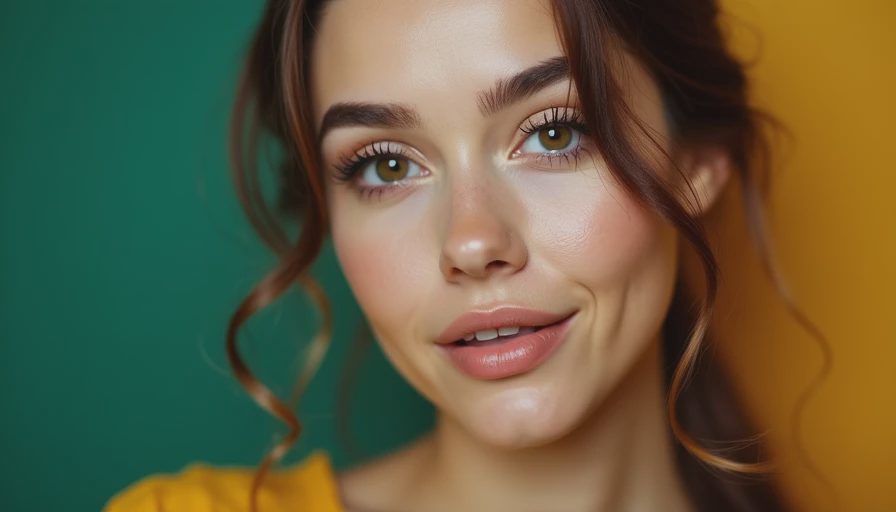
Set up the phone and composition
How to photograph makeup with phone becomes much easier when the camera stays at eye level. Prop your phone on a stack of books, a travel tripod, or an inexpensive tabletop stand. The rear camera often produces sharper images, but the front camera is convenient for checking your framing. If you use the rear camera, place a small mirror behind the phone or mark the floor where you should stand.
Keep the lens about three to four feet away for a portrait, then crop the image later. Holding the phone very close can exaggerate the center of the face because wide phone lenses stretch nearby features. A little distance creates a more natural result. Use the regular 1x lens rather than an ultrawide setting, and skip digital zoom whenever possible.
Leave a little space above your hair and below your shoulders. Your face does not need to fill every pixel. A simple background helps the makeup remain the subject: a cream wall, a plain curtain, or a tidy corner with one vintage accessory is enough. A busy shelf competes with colorful eyeshadow and makes the finished image feel accidental.
Take three versions: straight on, turned slightly left, and turned slightly right. You are not searching for a new face or trying to correct anything. You are finding the angle that lets your own styling choices read clearly.
Lock focus and control exposure
Phone cameras love to brighten faces automatically, and that can erase the dimension you worked into the look. Tap on your face to set focus, then drag the exposure slider slightly downward if the forehead or cheekbone looks too bright. On an iPhone, tapping and holding can lock focus and exposure. Many Android phones offer a similar lock through the camera app.
How to photograph makeup with phone is partly about keeping color honest. If your red lipstick turns orange or your lavender shadow disappears, do not immediately reach for a filter. First, check the light. Mixed lighting from a window and a warm lamp can create strange color shifts. Turn off the indoor lights and use only daylight, or close the curtains and use one consistent artificial source.
Turn off portrait blur for close makeup documentation. It can soften lashes, eyeliner, and the edge of a lip in ways that look like a makeup mistake. For a finished outfit photo, portrait mode can be pretty, but it is less useful when you want someone to see the actual texture of a satin shadow or a softly diffused blush.
Take one test image before changing anything. Zoom in on the brows, lash line, and cheek. If those areas are clear, your distance and focus are working.
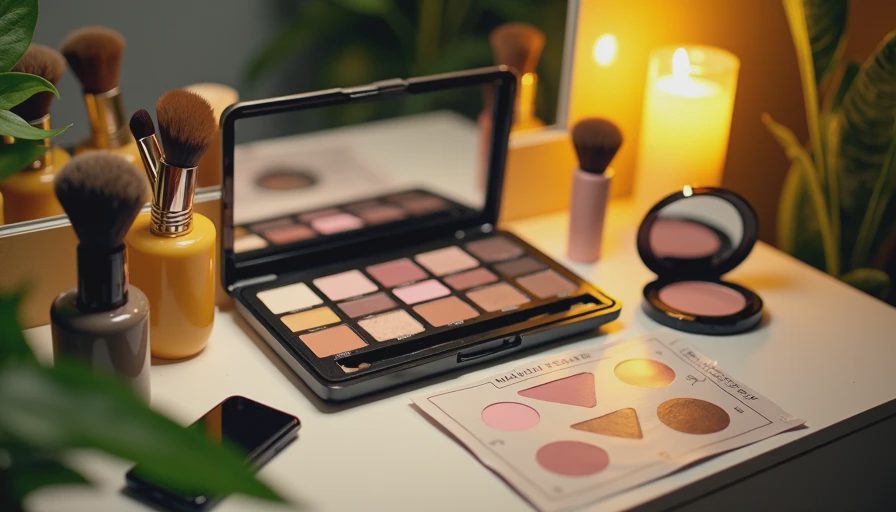
Photograph eyes, skin, and lips separately
One full-face image cannot show every detail equally well. After the portrait, take a few detail photos. For eyeshadow, face the window and lower your chin slightly so the lids are visible. Keep both eyes relaxed rather than opening them as wide as possible; tension changes the shape of the look.
For complexion, turn three-quarters toward the light and photograph one cheek at a time. This shows whether blush and bronzer still have dimension. A phone photo will not reproduce skin texture perfectly, so avoid judging your skin by every tiny pixel. The point is to document the finish, not create a poreless fantasy.
For lipstick, keep the phone level with your mouth and use even light. Take one image with lips relaxed and another with a small, natural smile. This catches feathering at the edges and shows whether the color works with your whole face, hairstyle, and outfit. A face, a hairstyle, and an outfit are one thing, not three.
Edit without changing the makeup
Small edits are useful; heavy filters are not. In the native Photos app, begin with brightness, contrast, highlights, and warmth. Lower highlights if the forehead is glowing too strongly. Add a touch of contrast if the image looks flat, but stop before blush becomes neon. Adjust warmth only enough to match what you saw in the mirror.
How to photograph makeup with phone does not mean making a perfect image. It means making a truthful one. Avoid skin-smoothing tools when you are checking foundation, powder, or texture. If you use Snapseed, Lightroom Mobile, or the phone editor, compare the edited version with the original before saving. The best edit is often a slight crop, a tiny exposure correction, and nothing more.
Save the original image. It gives you a useful reference when comparing products, checking how makeup wears after several hours, or recreating a look while traveling. I keep a small album of finished looks, including the occasional messy one. Those photos teach me more than a polished image because they show where the liner smudged or where the blush disappeared.
A simple five-minute photo routine
When you want a reliable result, clean the lens, face a window, and place the phone at eye level. Choose the 1x camera, stay three feet back, and tap your face to focus. Take a straight-on image, two angled portraits, and one close-up of the eyes. Then check color before moving anything.
If the makeup looks dull, change the light before changing the products. If one side of the face looks stronger, turn slightly toward the window. If the image looks distorted, move the phone farther away rather than switching to a dramatic filter. These small adjustments solve most problems I see when clients send me makeup photos.
You are already beautiful, and the camera does not get to argue with that. Learning how to photograph makeup with phone simply helps the image tell the same story you saw in the mirror: a thoughtful look, a little creativity, and your face exactly as it is.


No notes yet — write the first one.